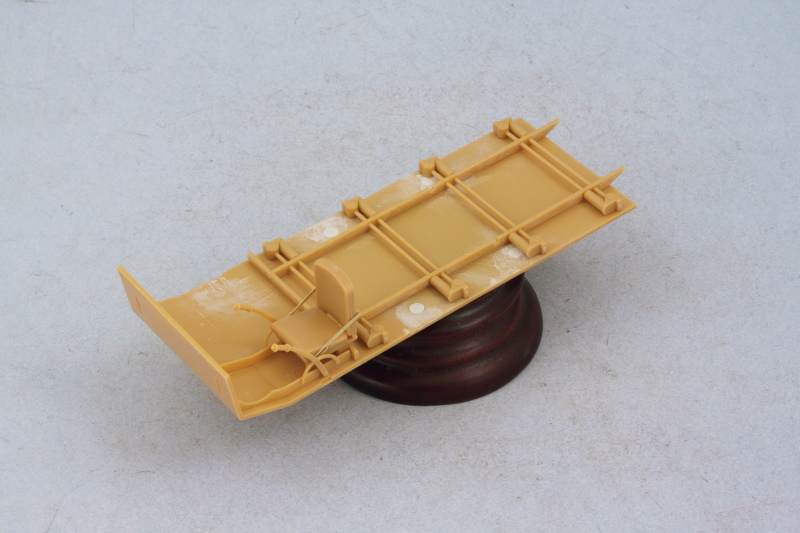
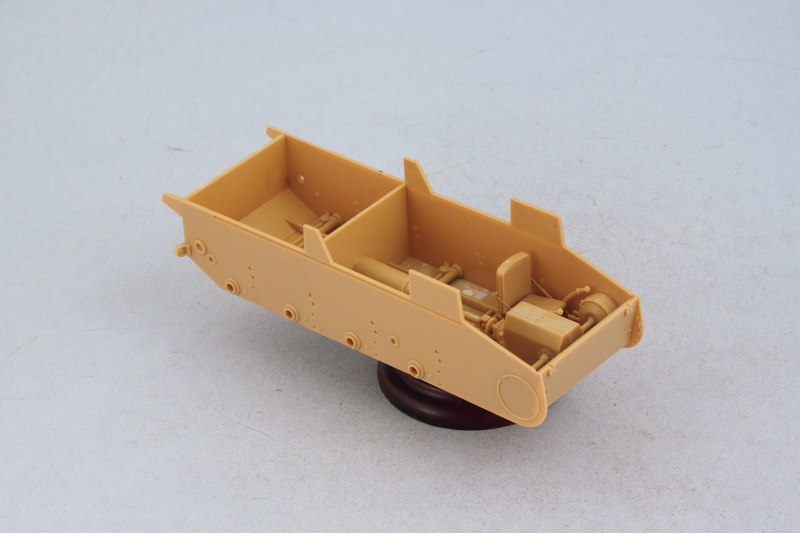
Because Bronco's kit design uses a panel arrangement to construct the lower hull, work began there instead of the usual 'remove and clean-up the road wheels' that typically is the first step for an armor build. Rest assured that will be coming soon, but the first order of business was to construct the lower hull. This is done in the first three steps of the instructions and it pays to study them first and do some test fits as there's a lot that has to go into a relatively small space and play nice with each other in the process.
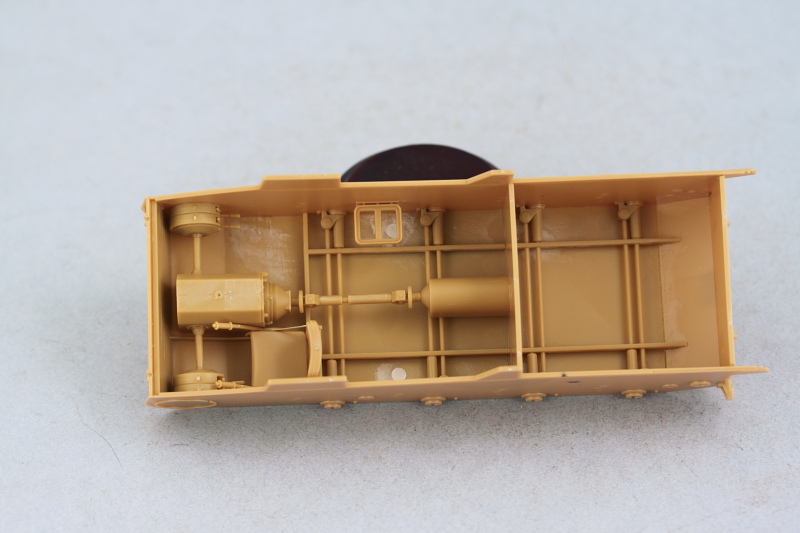
Step 1 is straightforward, it installs the driver's seat and the torsion bar interior details for the suspension. Ejector marks that would be visible later on where filled with putty and sanded down prior to installing the torsion bar part. This step also calls for attaching the front hull nose armor plate, C18, but I held off doing that until later to make sure it fit just right with the hull side plates.
Step 2 has you work on components for the transmission, drive shaft, and brake drums as sub-assemblies to be used in Step 3. I did things a little differently here than in the instructions to make it easier to handle the components and install them into the hull. I installed the drive sprocket shafts, parts J10, to the transmission box directly instead of the to the brake hubs to make it easier to position the transmission box at the right spot in the hull.
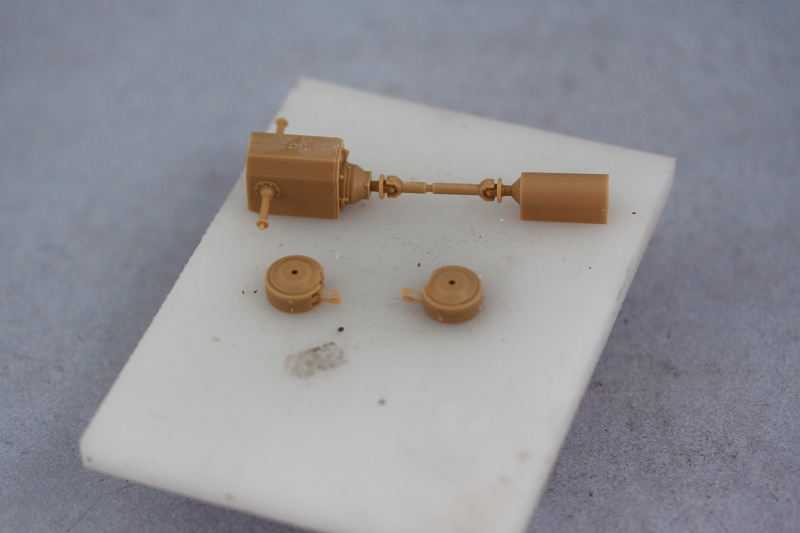
Rather than attach the brake hubs to the transmission box, I installed them directly to the hull sides after doing a test fit to make sure the driver's side hub wouldn't interfere with the driver's seat. Doing things this way gave me some flexibility with the drive shafts in terms of getting things to meet up and do any adjustments when installing the hull sides into position. The base of the loader's seat was also installed but I left the cushion off for now so it could be detailed and installed later on separately.
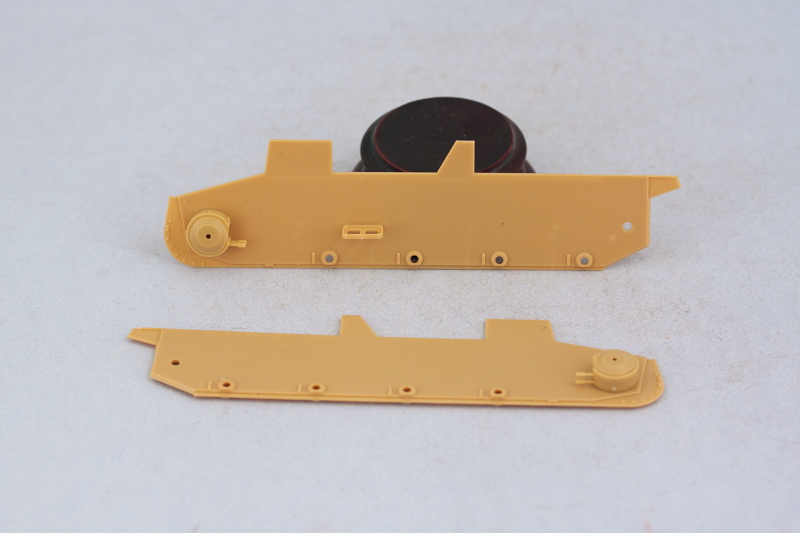
Step 3 brings all the hull components together. Bronco designed the side panels well in terms of how the meet up with the lower hull. There's a small tab at the front that helps keep things lined up and the suspension bar part is also designed to help provide alignment and rigidity at the base. The engine compartment firewall also helps but it fits loosely, so the key to getting it lined up are the slot tabs on its base along with the transmission components that attach to it. That's another reason why I opted for the alternate method of installing the components mentioned earlier after doing some test-fits. The front nose plate was added along with the rear plate. The rear plate's fit required a little finger pressure help to get it to line up properly but otherwise the hull assembled without any major issues.
Next up will begin work on the suspension components.