Taking full advantage of the Memorial Day extended holiday (and of course taking time to also remember and honor all of those who have died in service to their country!), work continued with the focus shifting to the upper hull and fenders.
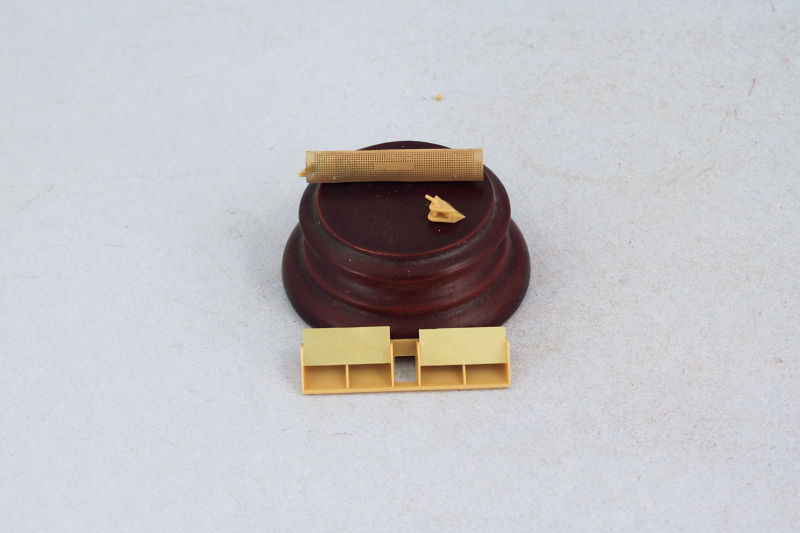
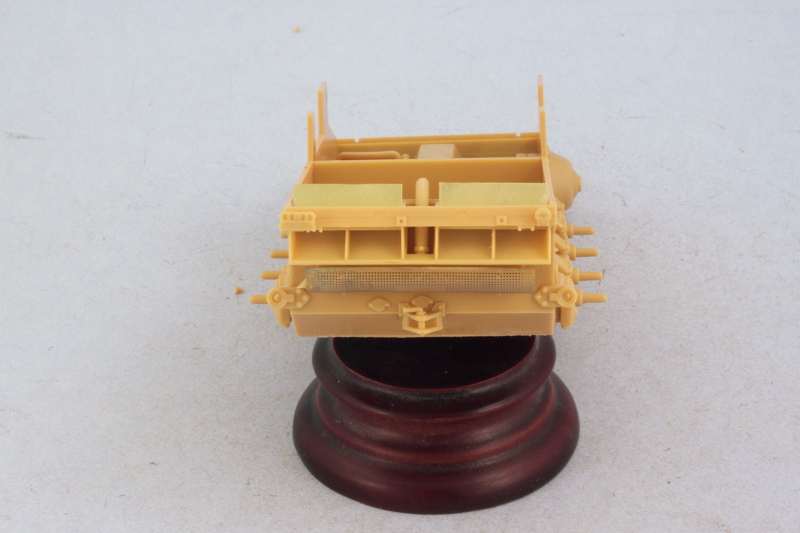
Steps 6 and 7 deal with the rear hull details with Step 6 assembling the air exhaust deflectors, the muffler and heat shield, and the tow hitch. The heat shield was annealed over the gas burner flame on my kitchen stove, then curved to shape using the metal handle of my Xacto knife to get it close to the required curve and the muffler itself served as the former to get it curved the rest of the way. I drilled out the muffler exhaust pipe since the kit supplied part just had a molded depression for its mouth.
These parts were installed in Step 7 along with the rear hull overhang plate that includes the Notek rear light and standard brake lights. The engine exhaust extension pipe was installed as well to round things out.
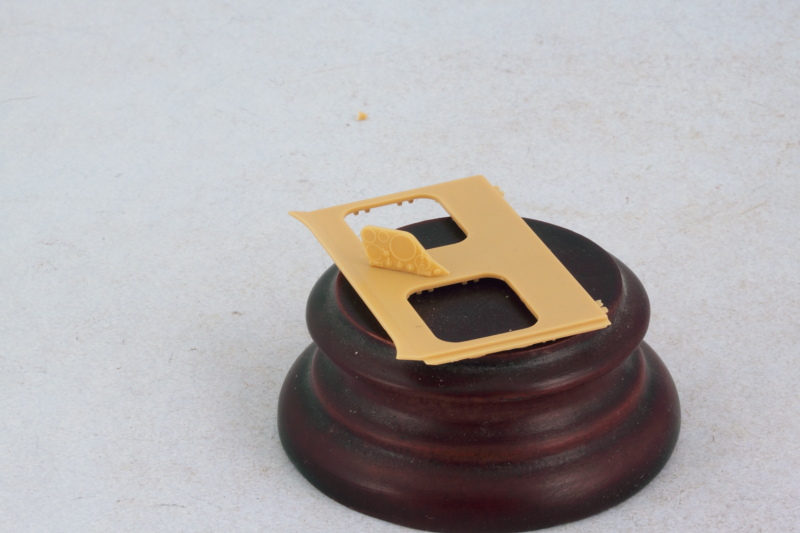
Step 8 is a simple step, it installs the driver's instrument panel under the hull glacis plate as well as the driver's long grab handle, part E19. I added the grab handle later on after realizing as I wrote this that I had neglected to install it. The glacis plate was added to the front hull and fit beautifully, no clearance issues at all with the instrument panel and the transmission.
Steps 9 to 11 deal with the fenders and while the instructions have you put all the details on the fenders first and then install them, that's generally not a good idea so I switched things around a little bit. Both fenders were added after receiving their kit-supplied PE blanking plates for the tool mounts.
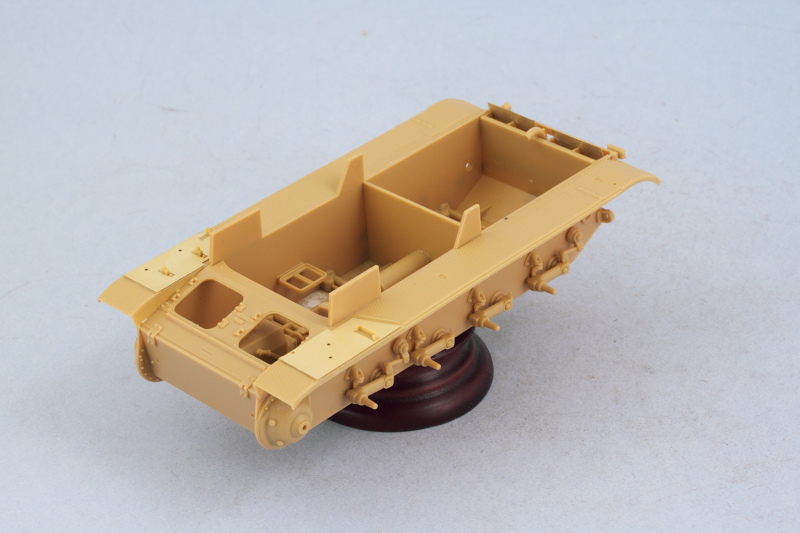
Next up will be adding all the various details (except the tools) to the fenders and starting work on the gun base mount.