Hello everyone!
I bought this kit a little more than a week ago and since the kit looked pretty simple and I had a bit more time than usually so I decided to give it a try.
Just to make clear, this is actually the Italeri kit but in a Revell box.
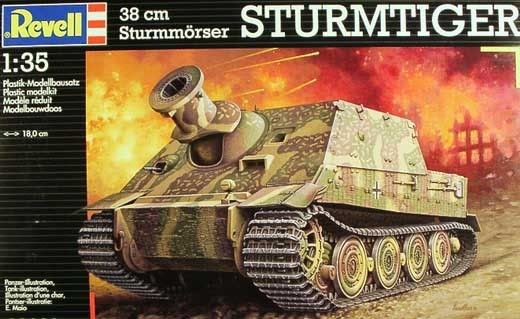
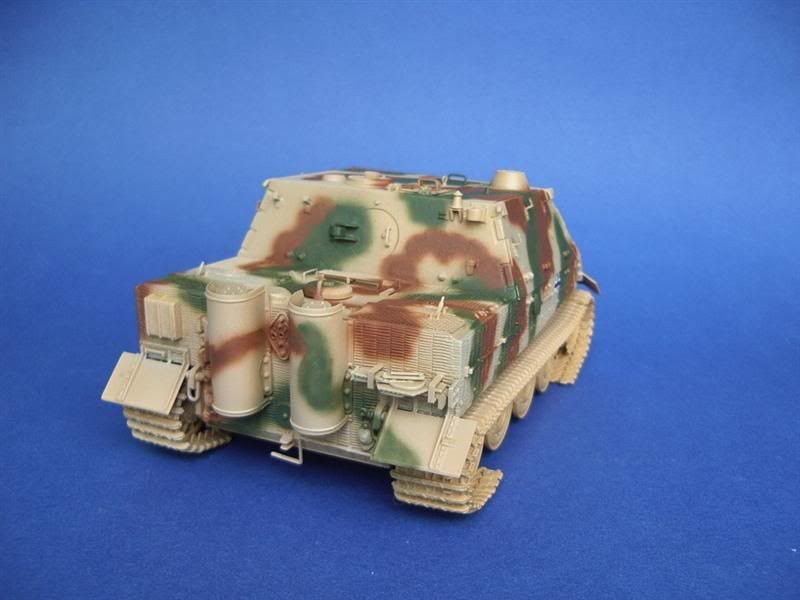
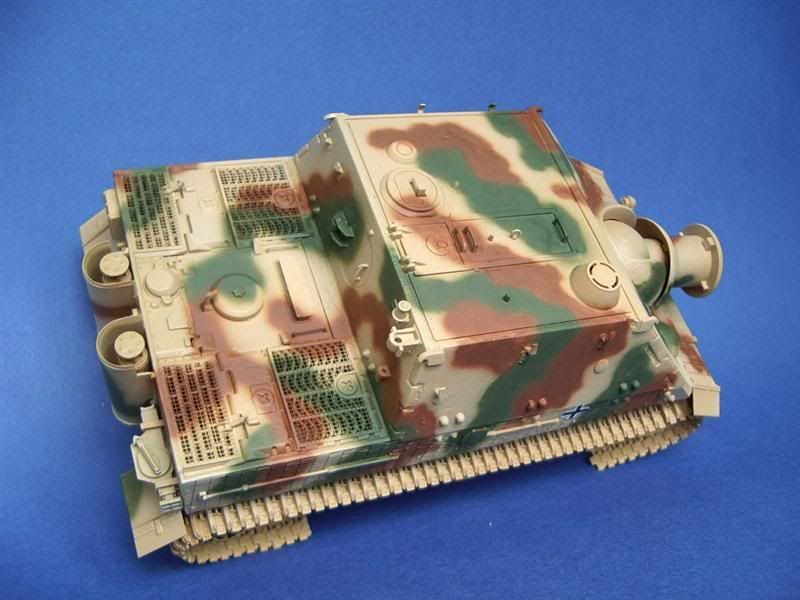
The overall quality seems acceptable. Nothing bad and nothing exceptionally good either. Well, it is kind of an old kit and the really sad part is that Revell didn't even bother to include at least the engine grilles.(Oh yeah, and the shovel you see on the boxart, well it is not actually in the kit...

) So I added Aber items.
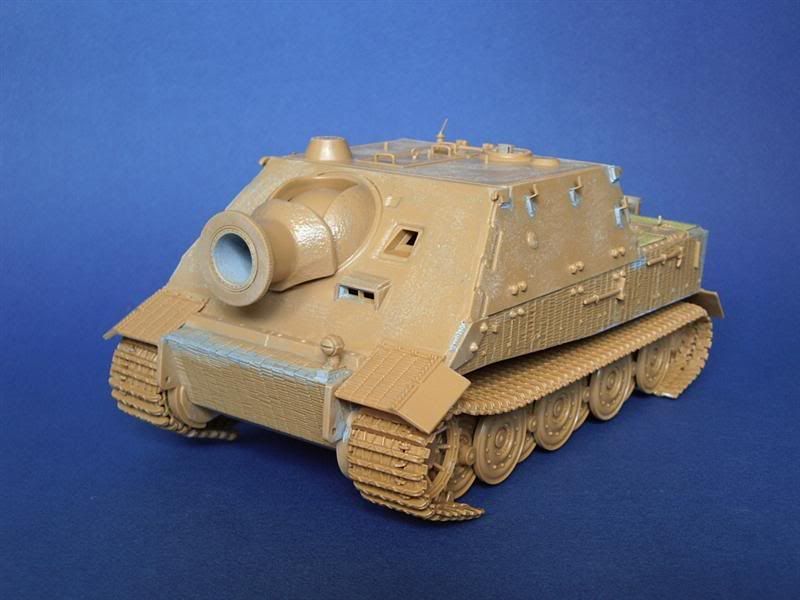
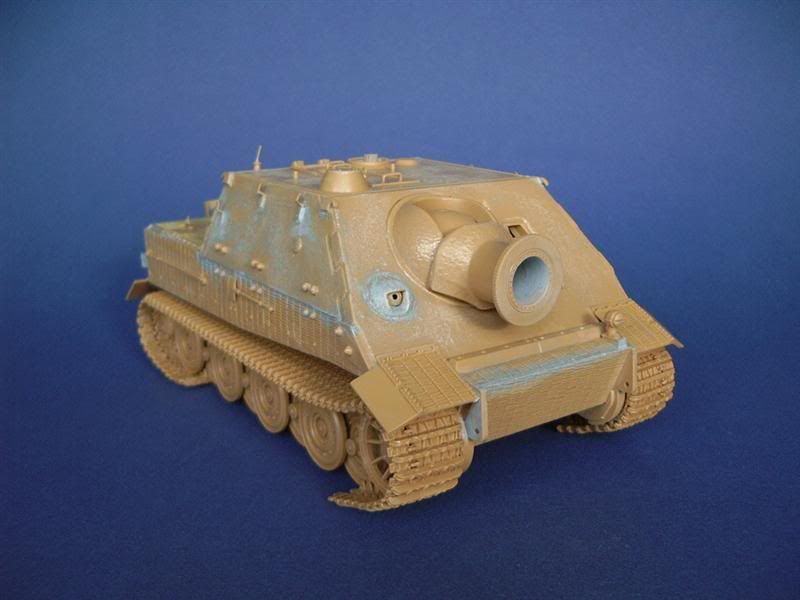
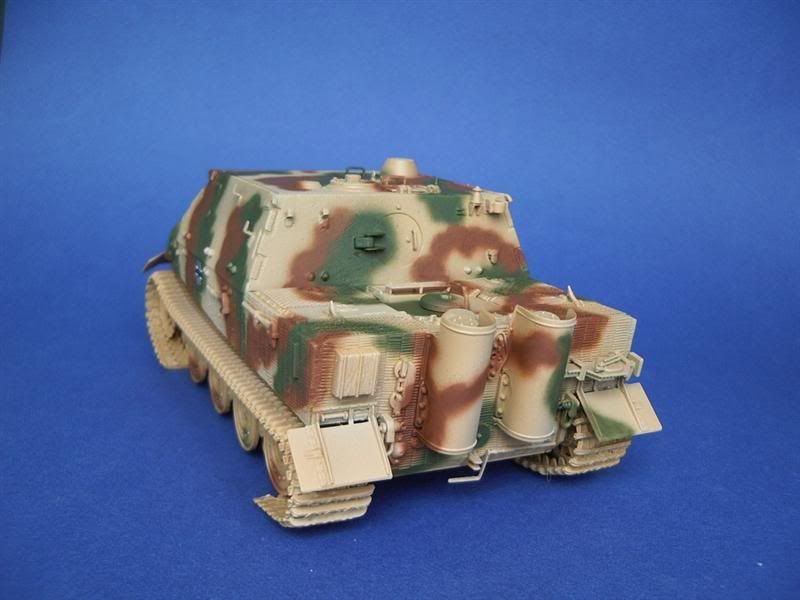
Fit of the mayor components was ok. I think a basic Tiger lower hull can't be broken down any more than in this kit. The zimmerit is adequate too. At least it saved the time of making my own. It needed to be fixed at the joints as the fit was not 100% on the mark. The rear plate edges had no zimmerit at all, so I had to add some there. (Well, actually this was due to the side plate ends lacking any detail.)
The mantlet already had cast texture, but I went over the whole model with some Testors thin glue and a stiff brush.
Oh yeah, I added a jack from my spares box and a simple attachments from plastic cards as well.
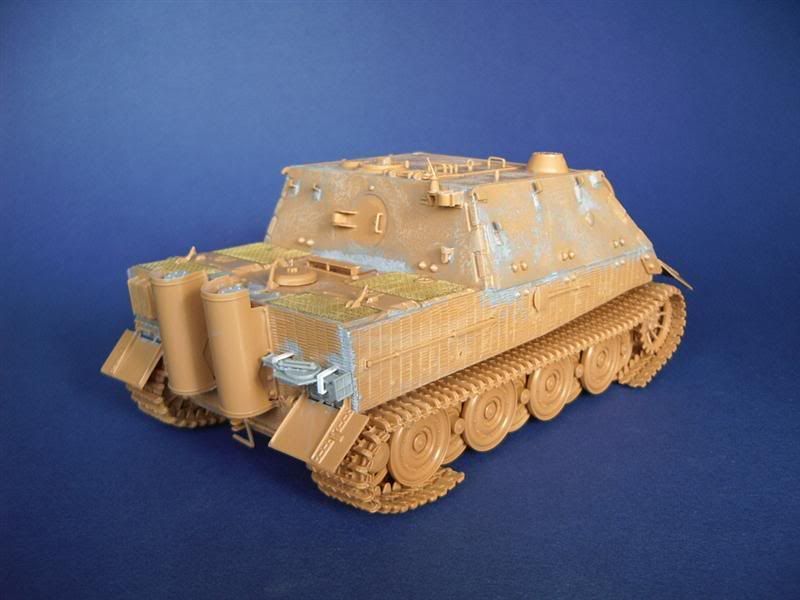
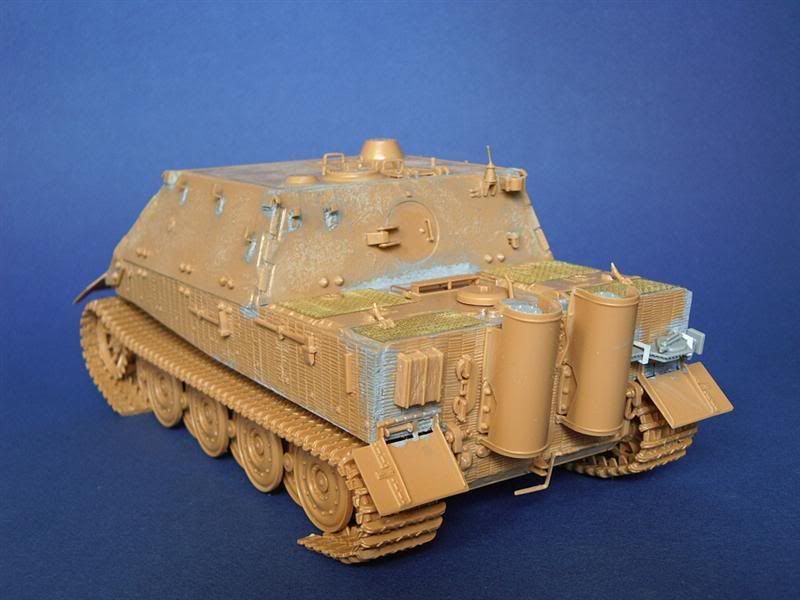
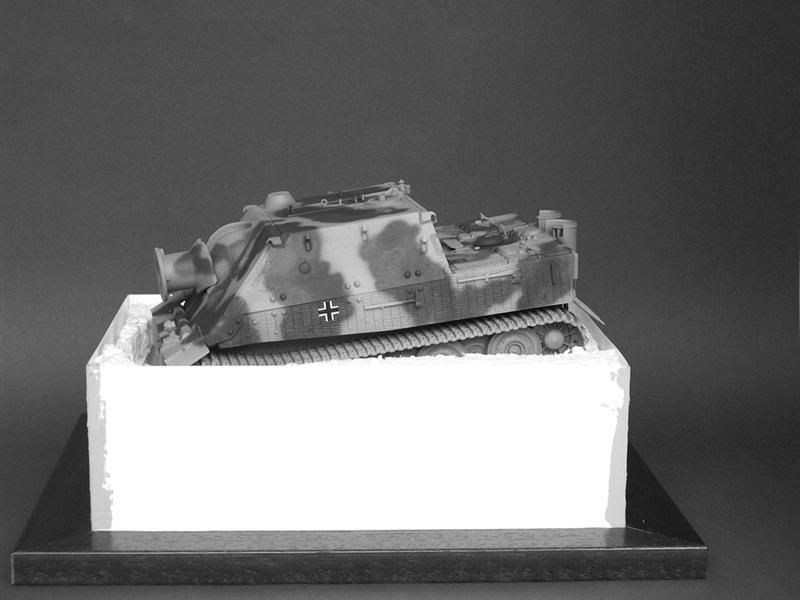
The tracks are really the weakest point in the kit and since I wanted a quick build I decided to place it on a base with it being stuck in the mud really bad. Thus no need to add the bottom run. I just assembled them with all the pinmarks intact and it will all be mucked up good so no worries.
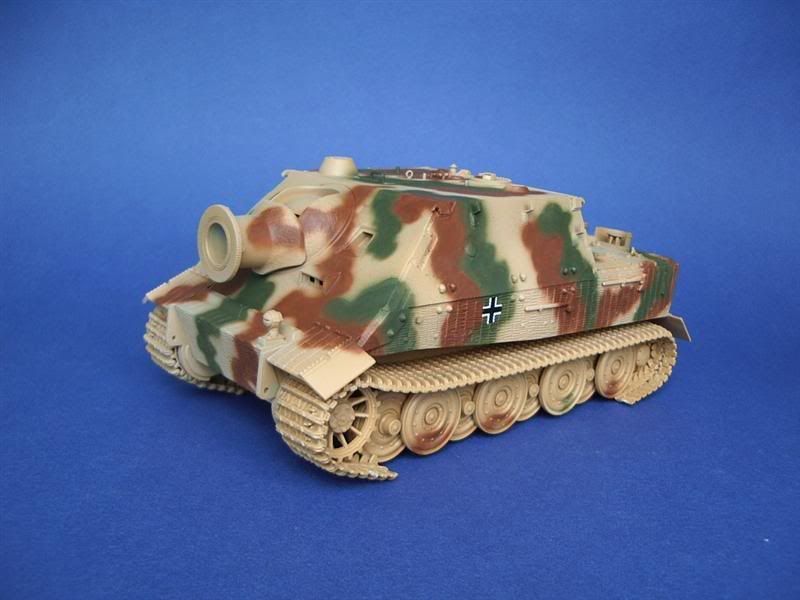
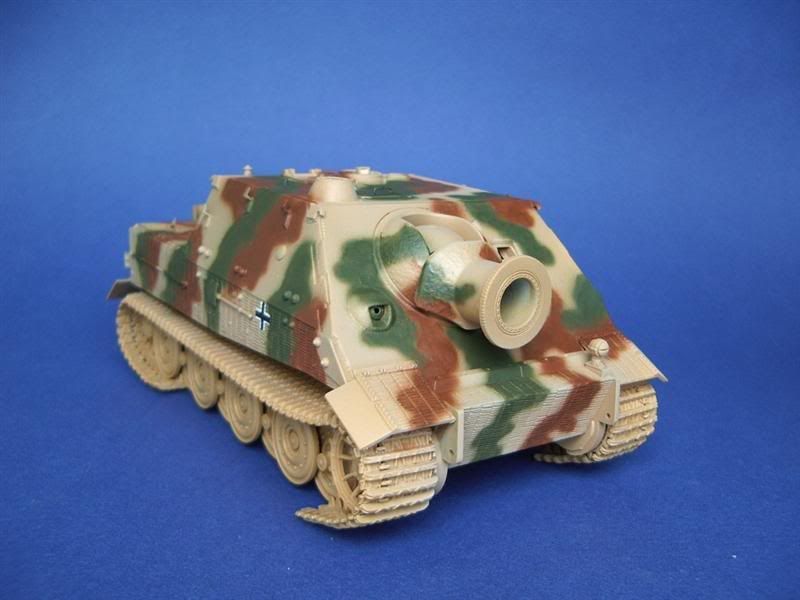
I just wanted a softedged camo job and really just let the AB loose on it. The base color is Model Master Sandgelb and then it was misted over with pure white to make it a more creamy color. The brown is MM Leather and The green is MM Dark Green.
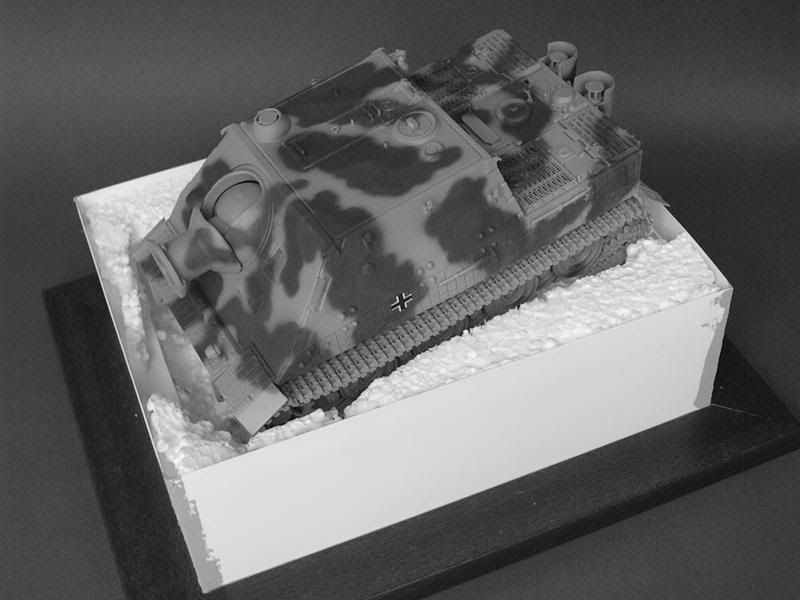
Next up was the base. I messed up my first attempt as I used some spray insulation foam that expands. It first expanded fine, but then collapsed in on itself and so I thought I needed to add more. Bad idea as 3 days later when I returned home I found it had expanded in all ways and so basically the picture frame I was using as the base looked like a belt on a rock hard foam ball.

NEVER doing that again.
This is my second attempt with conventional materials. It is just the rough beginning, as it will all look like wet mud in the end.
Thank you for looking!
Siim


 Threaded Mode
