This little dio was pretty much one of the first things that I posted here at the Planet but it was only as a how to on the base [
in the Finishing section]. So I thought that I would finally V-Bench it with all the photo's that I didn't include in the SBS. This will be 'old hat for some of you so sorry in advance!
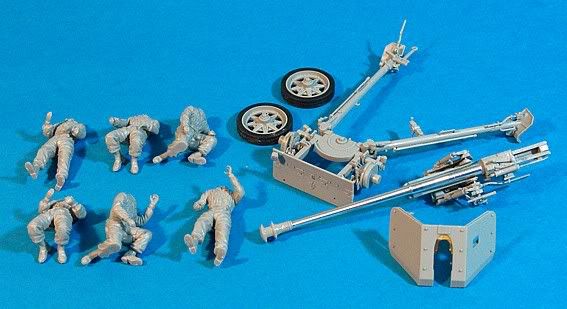
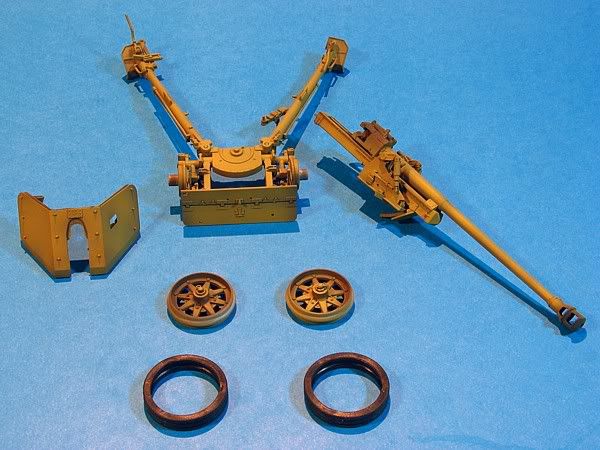
This kit was fairly new when I built it and I was very impressed with the amount of options that Dragon provided. The kit comes with 3 different muzzle breaks for the various versions throughout the war. A Aluminium turned barrel and a plastic one. Two sets of rubber tyres - new and damaged. The damaged ones look great as they have chunks out of the rubber, moulded in.

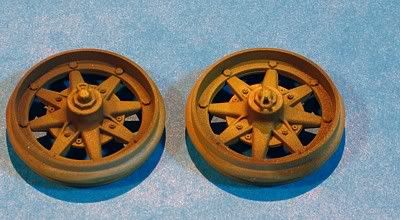
Dragon also give you the option of 3 different wheel hub patterns. There are also brass and plastic shells, ammo boxes and cylinders as well as a full Fallschirmjager crew. The decal sheet is also good giving you the printing for the ammo cases [nice touch] as well as the shells.
........................
...............
...................................
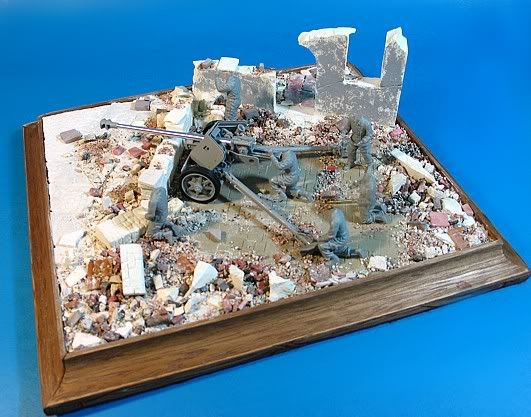
Once I had built the kit and the base I did a test fit-- fits ok.
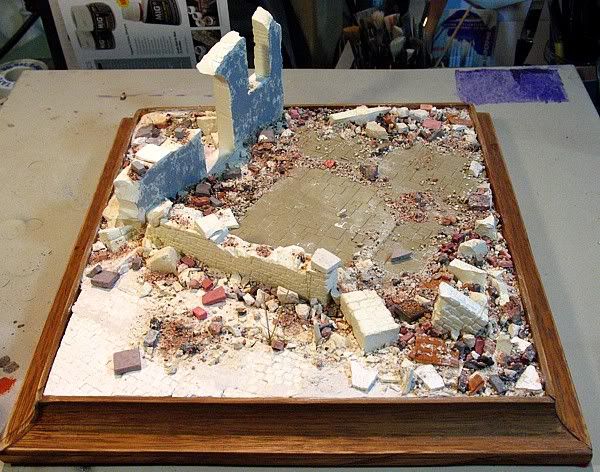
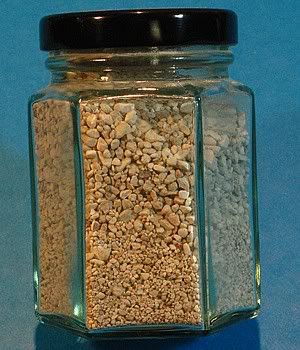
The rubble I use comes from two mixes.
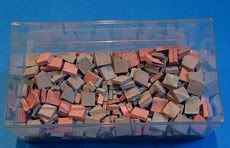
1. VP tiles and bricks.
2. A mix of plaster debri, ground up bricks [real] and small stones from the road outside my house.
The second mix is good for an overall cover while the VP stuff I use sparingly where I need crisp detail to show.
..
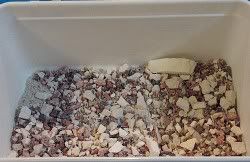
The final touch is with some [unused] Cat Litter, I filter for the really small ones.
I then started base coating the PAK as well as the base at this point
..
................................
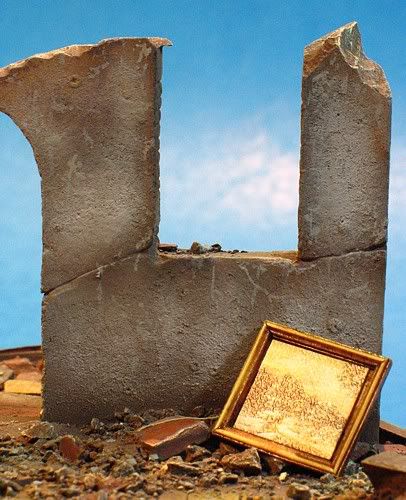
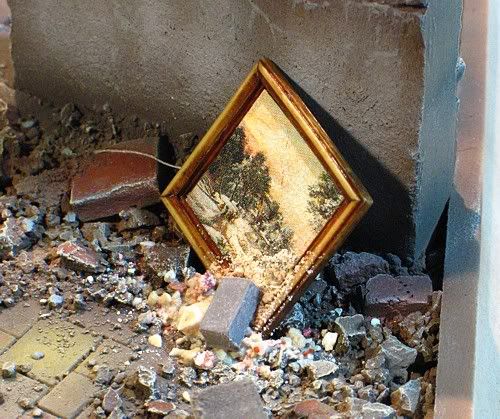
After the base had been rendered to the point where I could add the model and other details I proceeded to do some touch ups such as the addition of the painting, it needed rubble.
.....
.................................
 well that's it for the moment as photobucket seems to be offline or something.


 plastic Nymphomaniac
")


 Threaded Mode
