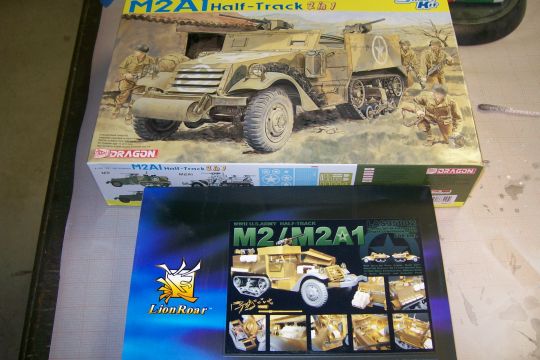
Man I'm looking forward to this. A little background. I started this build about 9/29 with a build thread at a couple of different sites. Almost immediately someone pointed me to PA and Rick Lawlers build of this kit. I really enjoyed reading his VBench and he has been a GREAT help getting this thing put together. I'm in awe of the build you guys have done here and the painting, wow! I only hope I can reach a fraction of the artistic talent you all have on display here.
IO notice you guys post the sprues and instructions for your builds but since Rick did the same on his thread i'll avoid the redundancy.
If you would like to see some of the other stuff I've done in the recent past let me know, most of my builds in the last year and a half are at Swanny's Forum, I've been doing Aircraft primarily since I got back in the hobby after a 14 year hiatus. This is my first Armor I've done with the exception of a
1:24 Jeep I did for my Dad
If it's OK with yous guys I'm going to post my progress thus far.
And so it begins...
Started cleaning up the resin parts, starting with the frame and engine, debating on getting
the K59 suspension kit mainly for the idler spring. Seems Lions Roar didn't want to deal with the undercarriage to much. The only thing I know right now is I got some brass to fold and need to stock up on OD.
Well here's my progress.
Henges...
Kudos to Rick Lawler over at Planet Armor for this technique:

Here's the first part, the second is the opposite hinge with a single tongue. What happens is you start the bend at the base of the hinge and interleave the two parts,

What I did was use superglue and secured both parts on glass plate, after I did a couple of them I started working 3 or 4 at a time as you see here.

Next take the .03mm wire and lay it over the interleaved tongues and secure both ends with tape. You can't see in this image but I started folding the outside tongues to secure the wire. I then started working from the outside to the inside till all tongues were folded over the wire.

Then I came back and gave it a bit more push on the tongues to secure them and clean up loose ends.

Popped off the hinges from the glass and slide the hinge to the end of the wire and clip the wire leaving the hinge pin in place. The only thing I'm worried about is the ease the pin comes out, need to figure out how to secure the pin, I'd like to score the wire in some way instead of a drop of glue. will test tomorrow.

And the product for today's work? A Bag o' Hinges.
Thanks for looking
10/06
Here's today's work

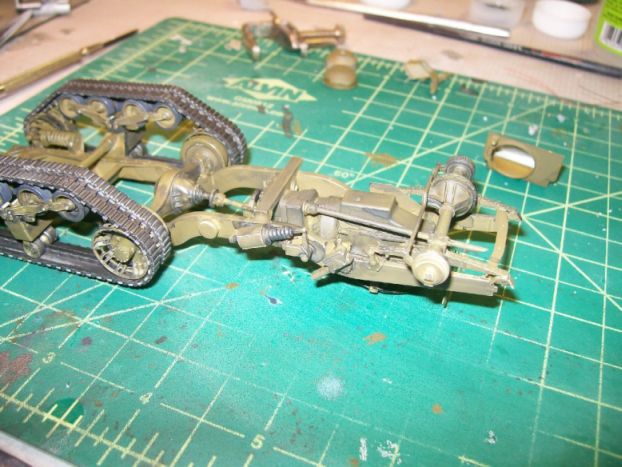
As you can see the paint is literally drying. Doncha love the Idler Spring, all the way from Hong Kong! looks good but should have scratched it. You can see the kit engine in the back ground, not bad by itself but this one from LR is MUCH better. The triangular object is the radiator housing, mostly PE - the radiator itself. I opted to us CA on the PE, especially on the cosmetic stuff like the lip around the fan shroud, which you can't see well in this photo.
Working on the road wheels and the rear suspension next.
Thanks so much for your help Rick and please feel free to comment, galk or laugh at what I'm doing.[D)]
10/12
Here's progress so far.
A smudged acrylic black wash over enamel base, oddly the OD base started coming up with the Windex I use for acrylic thinner, even after an acrylic gloss coat. going to do a dusty wash next then a flat clearcoat and some dry brushing then move forward.
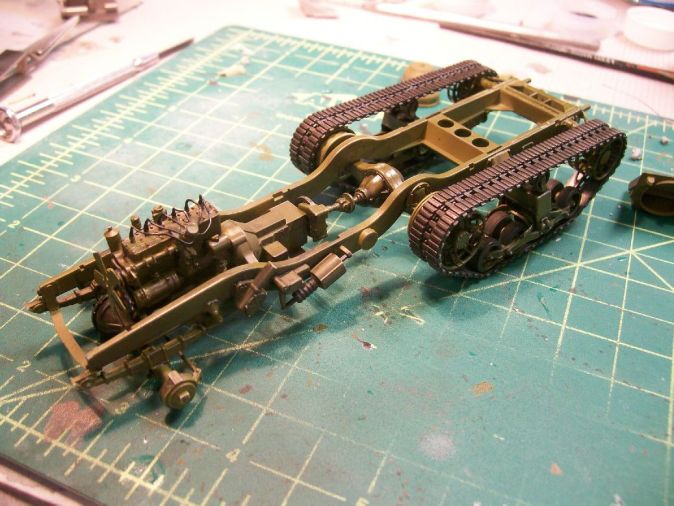
Here's the engine, I do plan on having the hood either working, or posed open. I thought long and hard about trying to pose the wheels turned but cutting the tie rod would have been to hairy for me.

Spark Plug wires are .015 solder with a glob of CA on the end to attempt to look like the rubber boot over the spark plug. I could not find a picture of the engine so I'm not 100% sure on the firing order but I"m sure someone will correct me somewhere.

I was worried about the wash because it looked so thick but viewing here it does not look so bad. I have the water hoses to do and the radiator is just sitting there right now, think a wee bit a rust is in order.

low light shot

I"d like to run gas lines but not sure about the routing from the fuel pump to the carb.

Here the exhaust is in place, used MM Metalizer Burnt Iron for the manifold and exhaust pipe. Note, install the exhaust support BEFORE you finish the tracks, it weren't easy putting it in place.

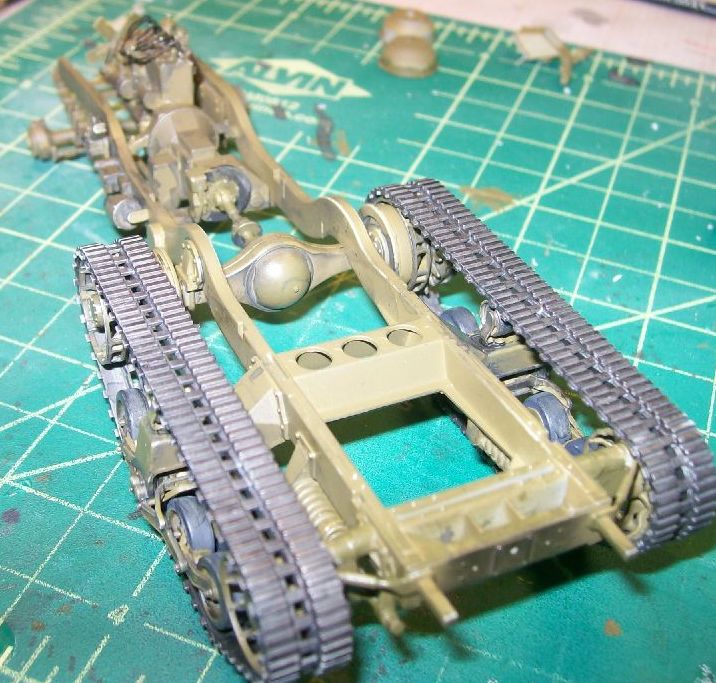
The Idler Spring may look funny because I had to extend the spring some to make it look like the spring was in contact with the rod. I really hate these tracks. they were a bear to install and work with. SURELY someone has some Aftermarket tracks for this thing.
Well there it is so far. That's the majority of the plastic for this bad boy, starting next week with the rear compartment.
At this point I started with the PE parts but using CA, Rick and others talked me in to using solder so i'll jump to that post next.


 Threaded Mode
