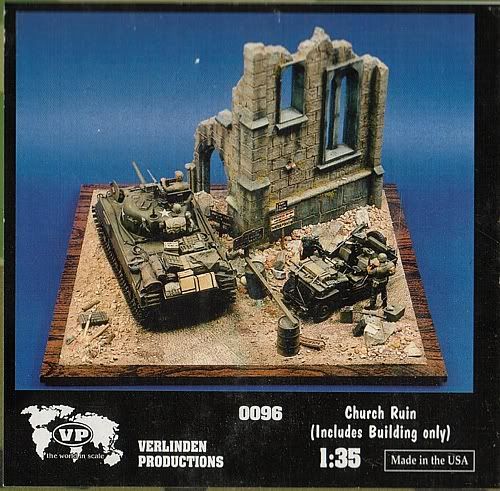
This is the last 'largish' diorama I did, just before the PAK 40, at the end of last year. It is basically a scene depicting German ground forces in the Normandy area being 'pinned down'. Their inadequate, captured Renault, has been knocked out and an LSAH Tiger has come to the rescue. It was done for a collector ,so I was following certain requirements that I might not have done for myself [eg. Tiger 1 does not get track links on the turret side].
STAGE 1
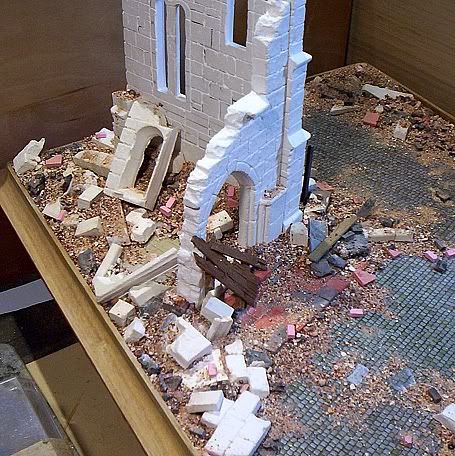
The building is the old VP kit of the ruined church. SEE BOX PHOTO BELOW.
....................................
 I WANTED TO MOVE AWAY FROM THE SCENE ON THE BOX AND EXPAND A BIT MORE as well as changing the vehicles etc involved.
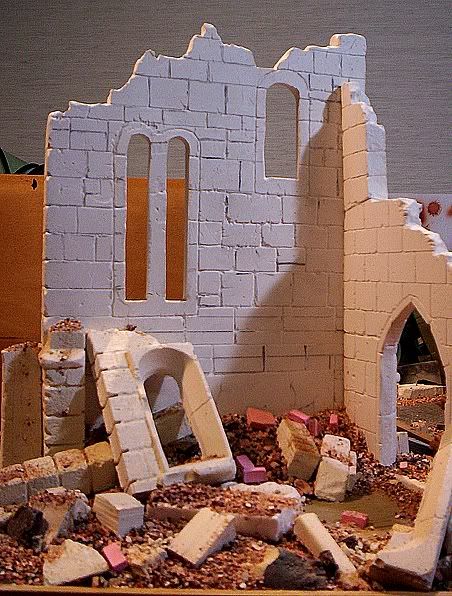
I rescribed the outer detail to make it more 3d and added interior detail, through scribing, to the inner walls. I also added broken stain glass window pieces cut from the VP release and cast up more broken pieces of rubble from the original.
.................................
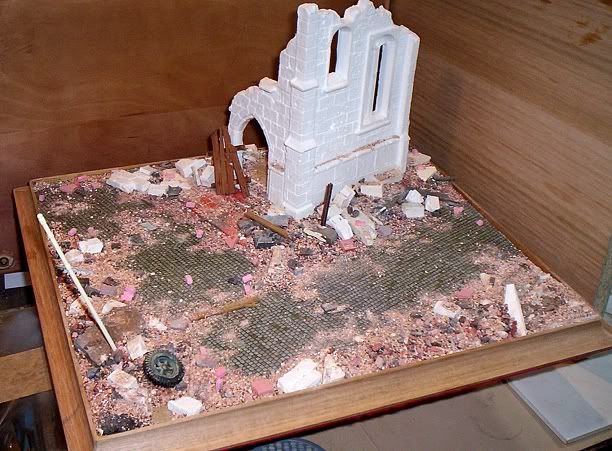
I had to balance the rubble effect with reality so I went for somewhere in between. Not too much , hopefully ....just enough for visual effect without overpowering the scene. Too much rubble can wreck the whole thing.
.................................
.

.............................
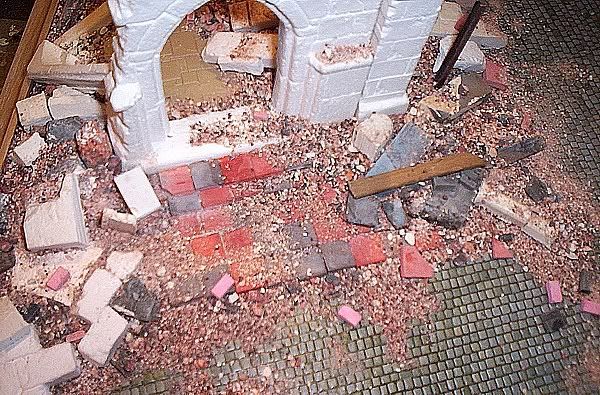
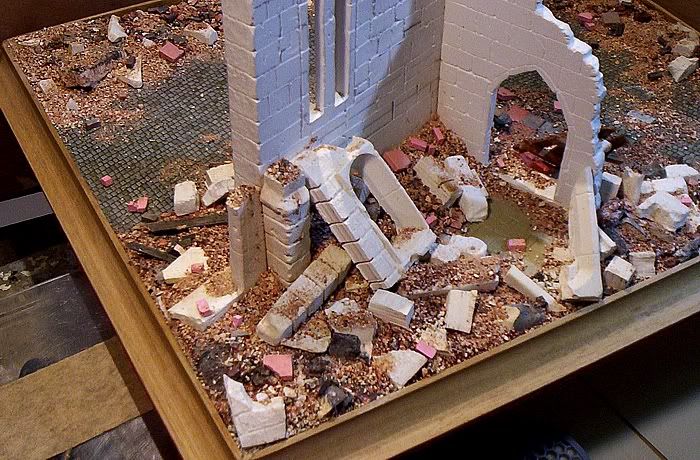
The interior brick patterns are all marked out with a ruler and pencil to match the exterior pattern. You also need to check for airbubbles with these plaster buildings. When you find one you can either turn it into battle damage or fill it with putty.
It looks really horrible at this stage but what you should be looking for is the texture and layout balance...don't look at the unpainted colors - they have no bearing on the finished scene.
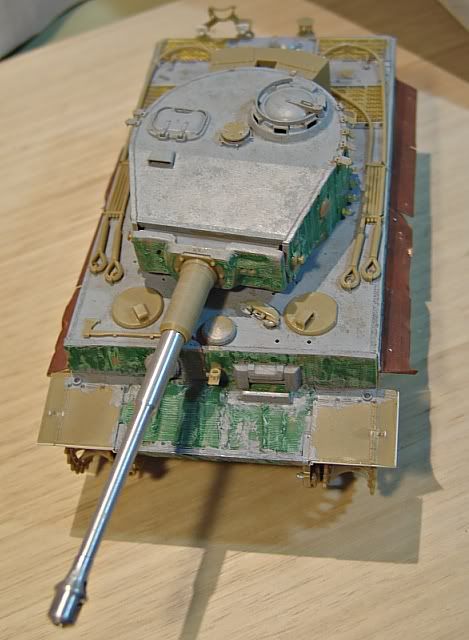
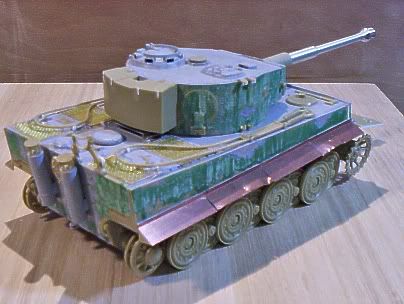
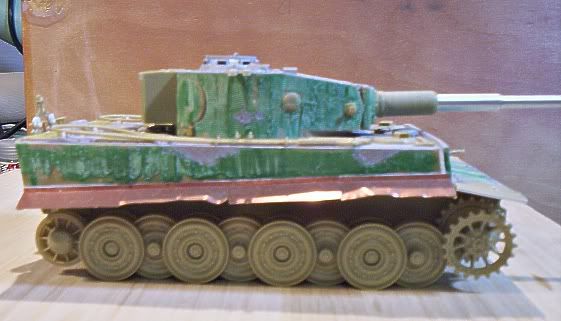
 STARTING THE TANK
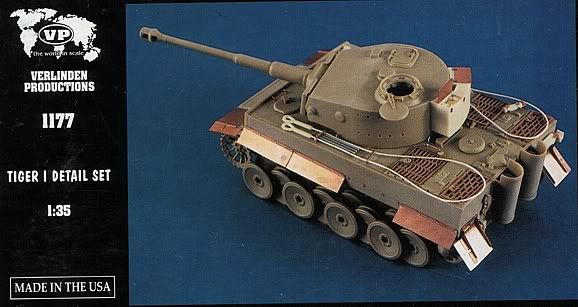
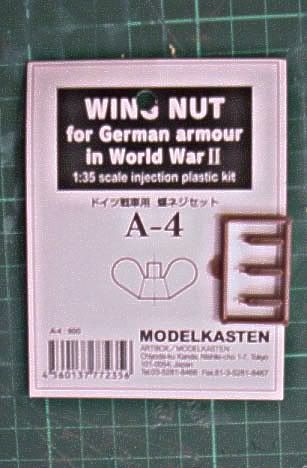
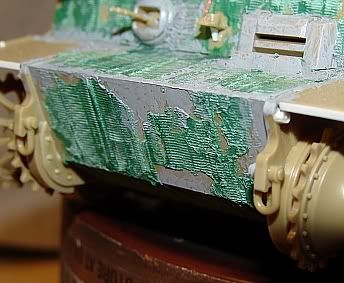
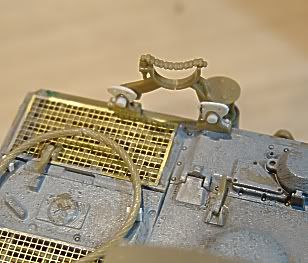
I used the Tamiya late model Tiger as a base and then added Aber brass , kasten detail sets, such as wing nuts and some scratch built stuff. I also used the VP tiger 1 detail set for the mud guards as well as for some of the smaller detail around the kit. I also used a Eduard turned barrel.
..
..
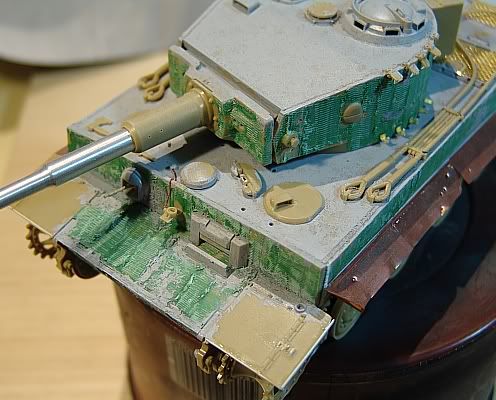 I added the extra detail required for the travel lock as I was depicting A TIGER 1 delivered to LASH during the period Novemeber 43 to Feb 44.
 The side guards from Vp are OK but they lack the extra fold on the outside edge, so I had to add it....thank god for Etch Mate :lol:
...........................
....................
..


 plastic Nymphomaniac
")


 Threaded Mode
