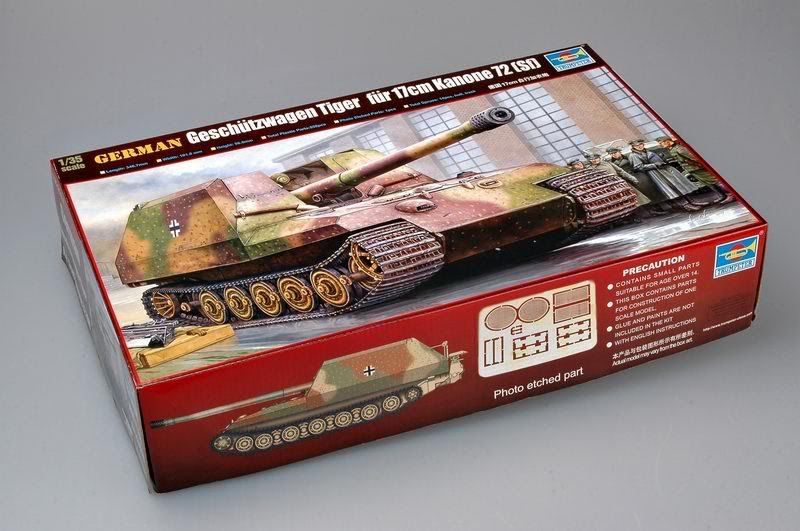
Hello!
Since I am finishing other kits I wanted something cool to cut and glue, so I broke out this massive kit. It might not look big in the box (it is kind of semi- full) but rest assure, it will be big.

Onto the build then. I started out with the gun as it appealed to me the most. I don't have the classical SBS on the bench photos, but I have now taken shots of the sub assemblies and this is how I will paint it as well.
Make sure you have a fresh tube of putty, because you are going to need a lot of it...oh and sandpaper, one can't have too much of that. I remind you that these shots are in progress so I will tidy it up before painting.

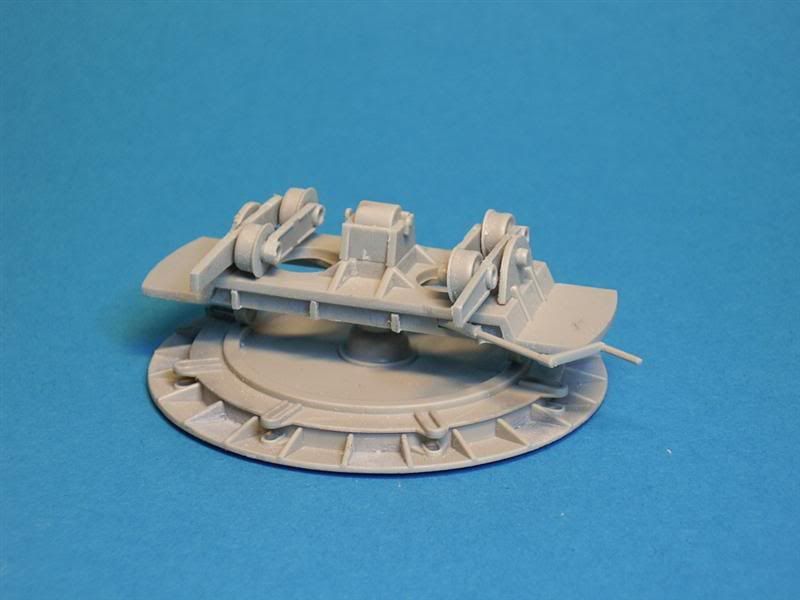
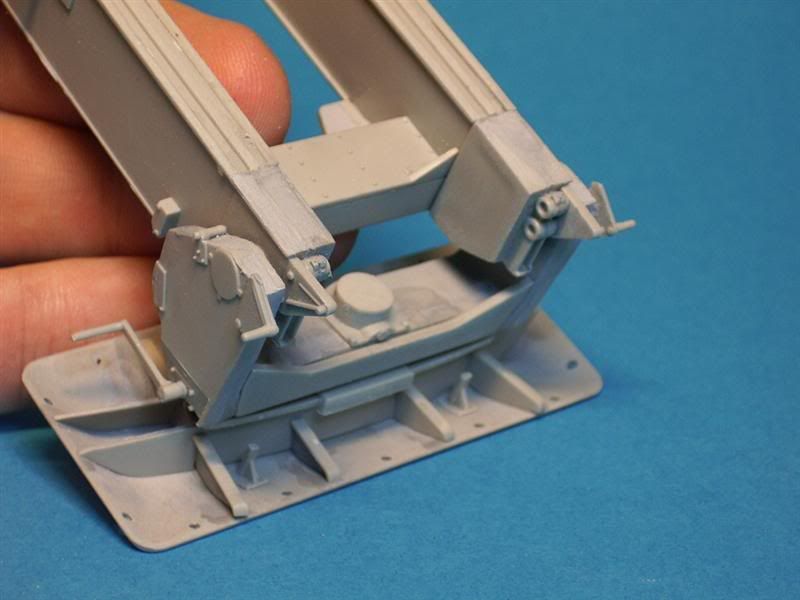
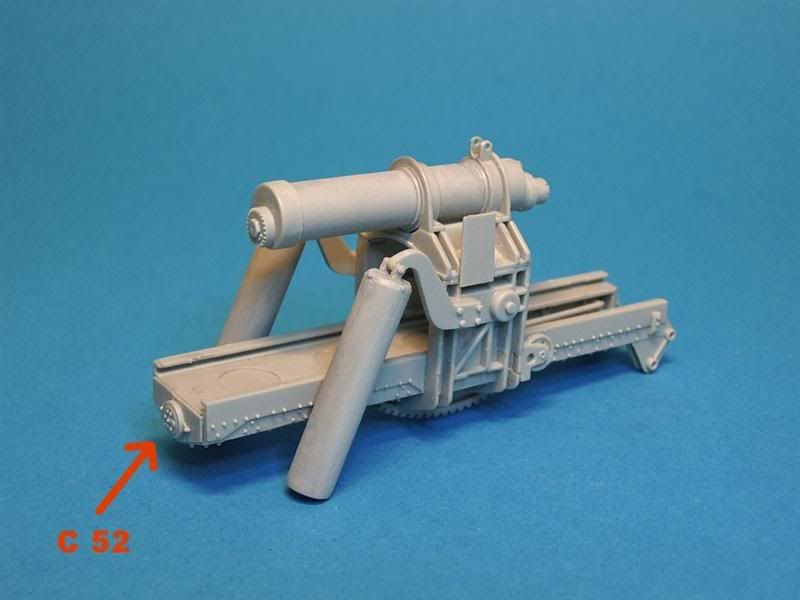
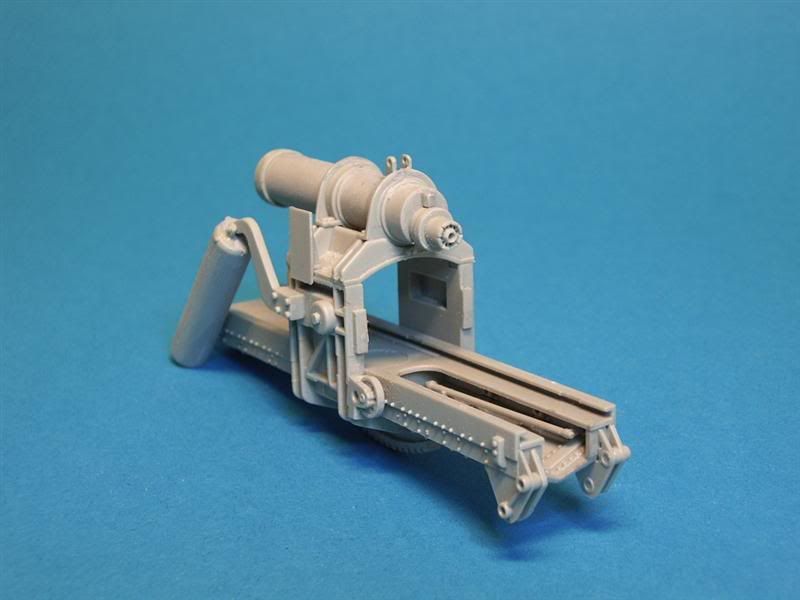
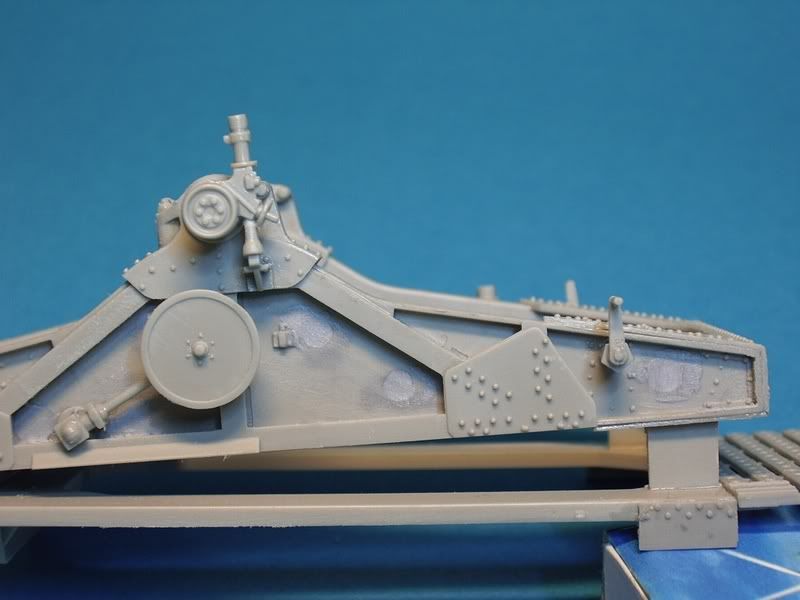
The turning base, a really cool, pin mark ridden piece.
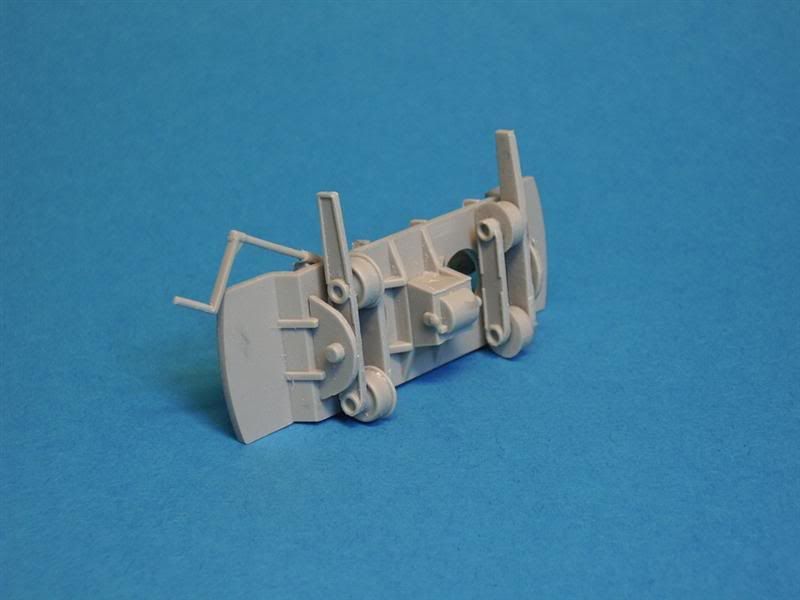
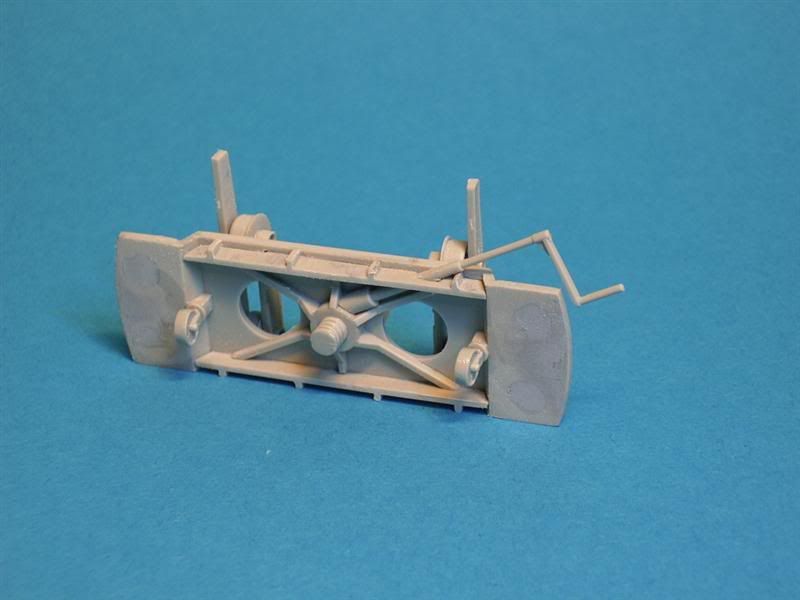
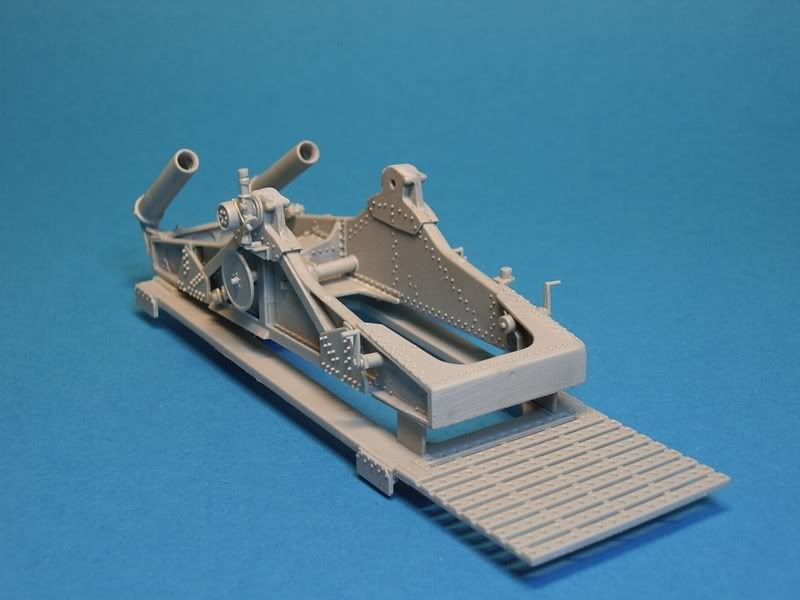
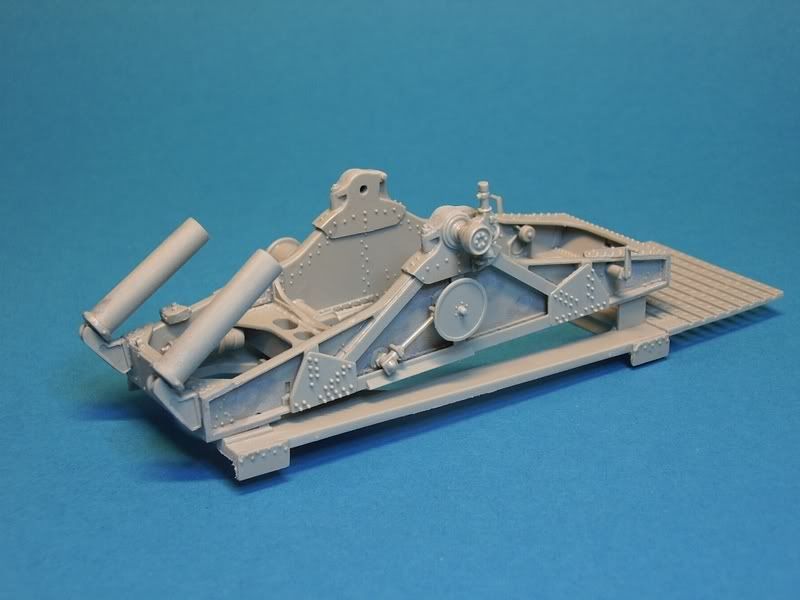
The long base with the rear stand.
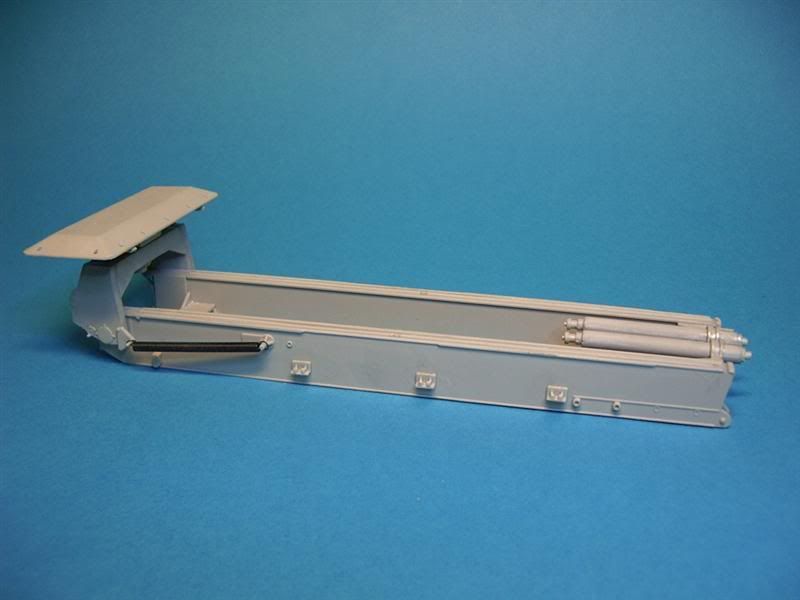
I found one spring to be slightly longer than the other and together they make the rear stand slam up if not glued so be careful with it.
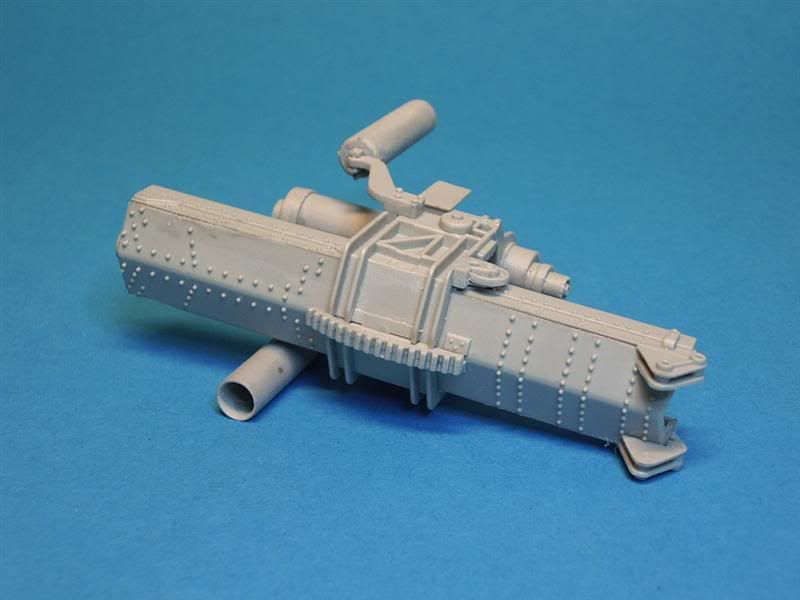
Now, the tube itself:
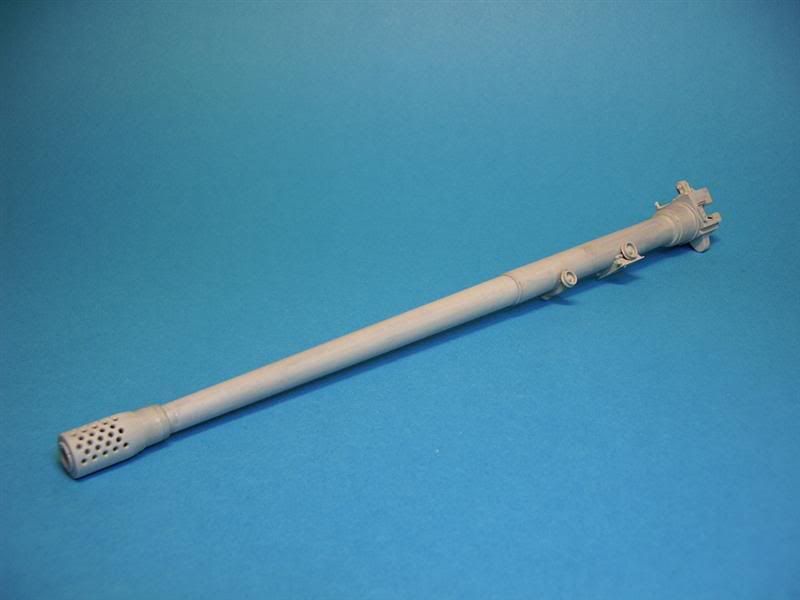
Yes people, it is long!
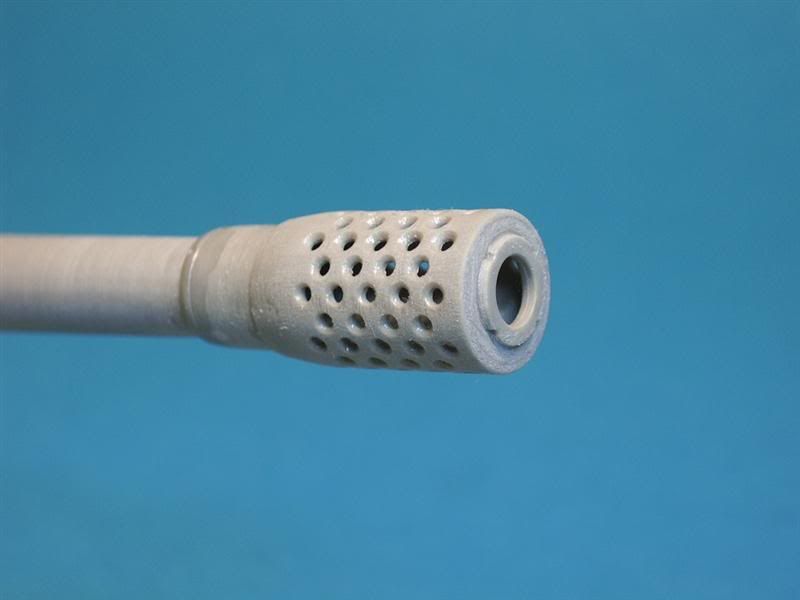
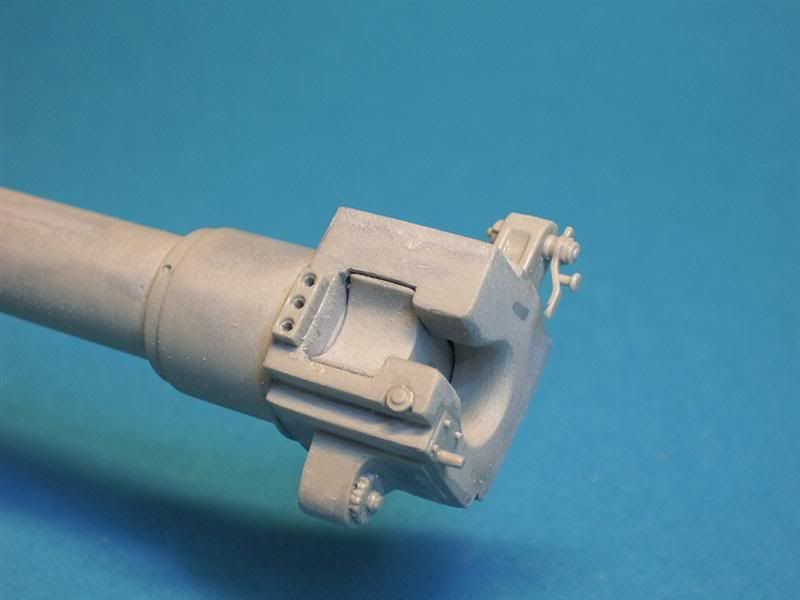
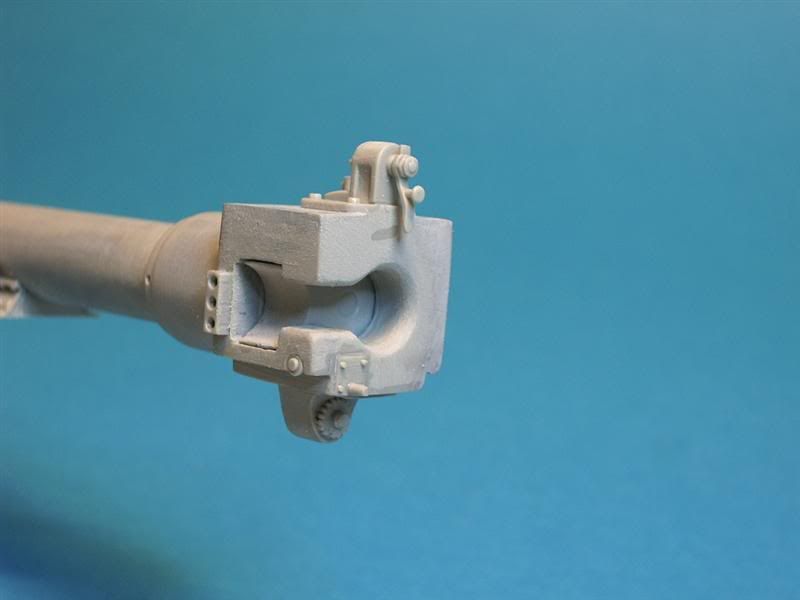
I drilled out the holes in the muzzle.
The rear needed heavy putty and sanding to make it all smooth. (it is a multi million part assembly BTW) I now see that I need to use some finer grit sandpaper to smooth it out a bit more.

I just want to say that all round items were glued together and the seam all filled up and left overnight. These round parts will not work out for you straight from the sprue.
Also ONE label was missing. Don't forget to add the part that is referred to in the picture!
This as well has nice detail but a lot of pin marks in difficult places make the work slow and difficult...

Haven gotten all the imperfections with the sandpaper, but I will scrape with a knife from now on as the putty is now finally really hard.


 Threaded Mode
