Go Back   planetArmor > planetArmor Features > Photos: In-progress Blogs

Photos: In-progress Blogs Post your in-progress photos in a blog-style topic!
Request vBench Photo Upload Access


Thread Tools Search this Thread Display Modes
Prev Previous Post   Next Post Next
  #1  
Old 02-13-2010, 12:43 PM
WillysJeep's Avatar
WillysJeep WillysJeep is offline
vBench
 
Join Date: Sep 2009
Posts: 240
Tamiya 1/35 Field Kitchen (First vBench)

Welcome to my first vBench.

I will be building Tamiya's Field Kitchen straight from the box. I wanted a project that I could build fairly quickly and experiment painting techniques with.

Click image for larger version

Name:	Boxart1.jpg
Views:	345
Size:	152.5 KB
ID:	2668

In the box are two sprues of dark grey plastic, one each for the kitchen and the limber and two sprues of white plastic for the horses and figure. Also included is a rectangle of flexible plastic to make the harnesses.

I gathered as many reference photos as I could find on the Internet to check the accuracy of this kit. Although it dates from the late 1970's it is a very accurate representation of a German World War 2 field kitchen & with a few additions it will build into a very realistic model. From the reference photos I found, it is obvious that there were several different types of field kitchen. James Tainton found a field kitchen identical to the kit in a museum in Germany. Photo is 3rd from the bottom of the post (Thanks James) http://www.planetarmor.com/forums/sh...5&postcount=38


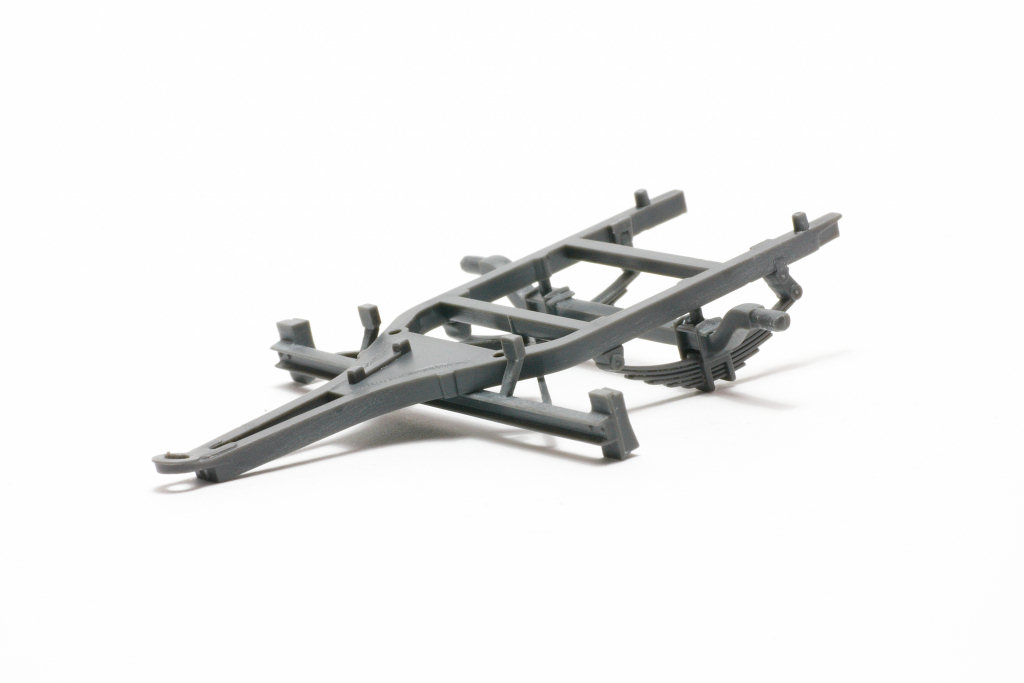
Construction starts with the chassis of the kitchen. The parts here, particularly the leaf springs and axle required quite a bit of cleaning up due to the moulds being misaligned. (Click on the photos to see a larger image.)

Click image for larger version

Name:	Chassis.jpg
Views:	421
Size:	45.2 KB
ID:	2669

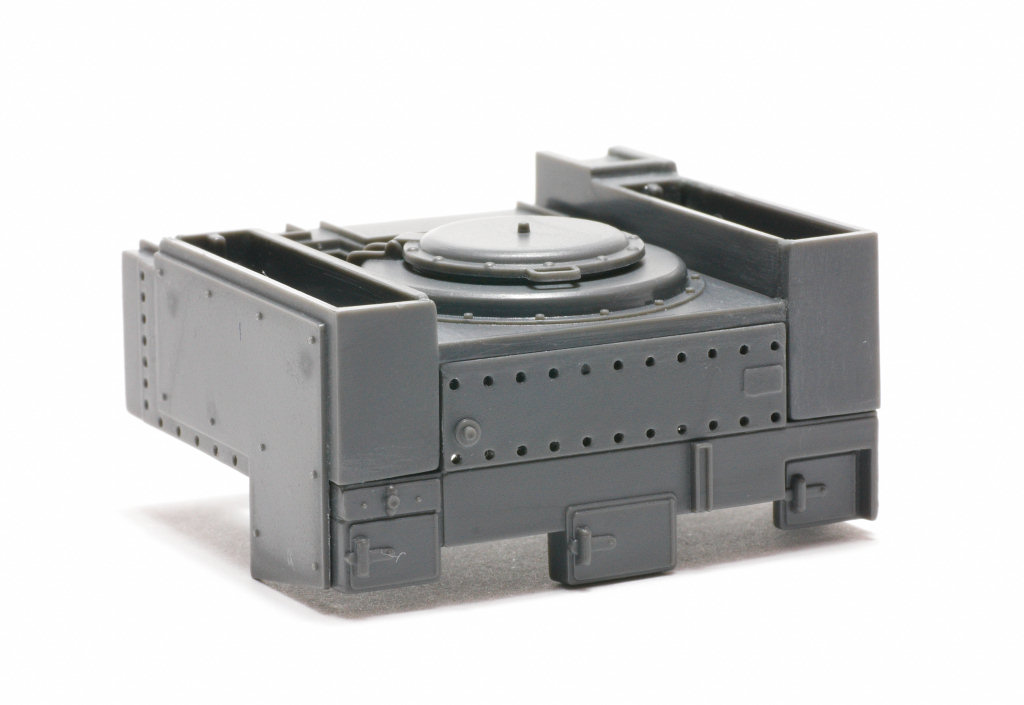
Moving on to the body of the kitchen the parts fit together very well due to various locating pins. I drilled out the holes on the panel on the rear of the kitchen.

Click image for larger version

Name:	Assembly Start.jpg
Views:	400
Size:	66.0 KB
ID:	2670

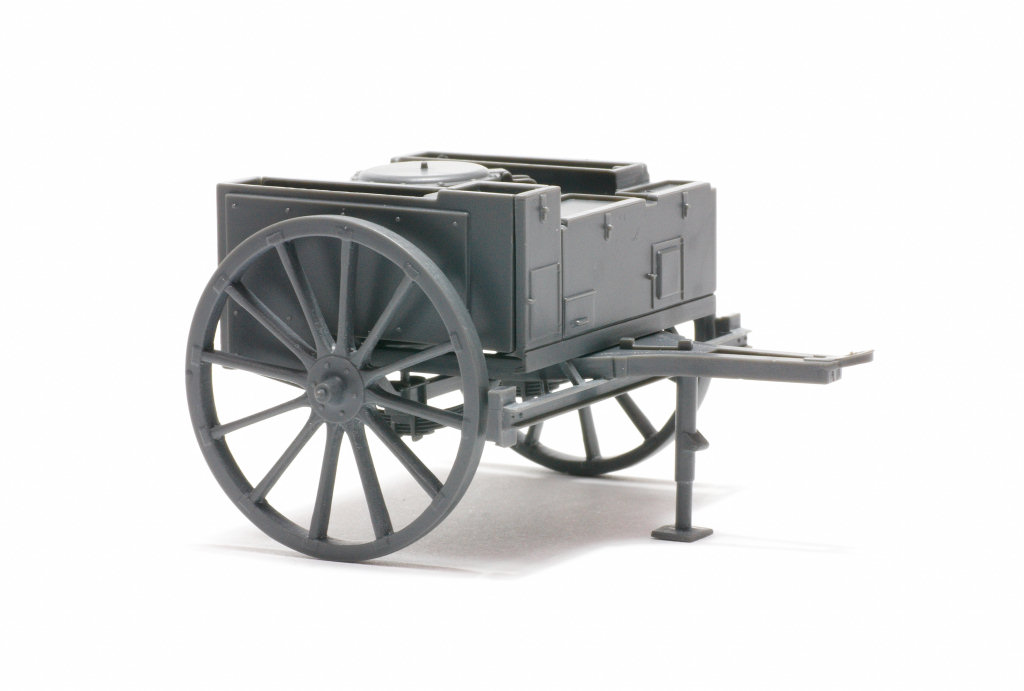
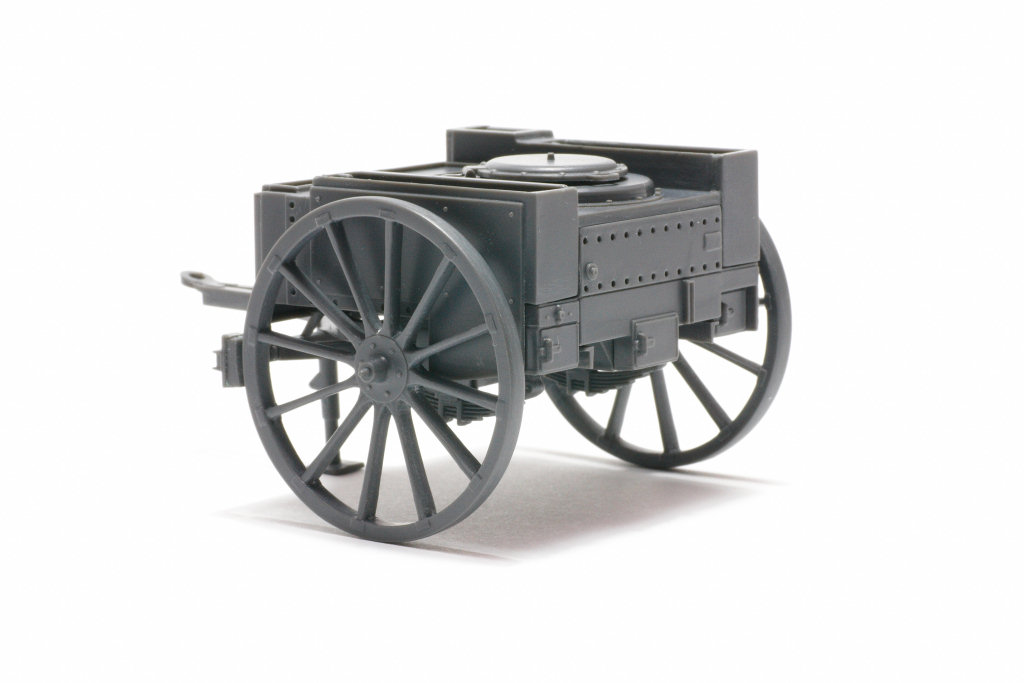
Dry test fit of parts. The gap at the front of the kitchen is not as large when glued, but it will need a little filling.

Click image for larger version

Name:	Dryfitfront.jpg
Views:	389
Size:	62.5 KB
ID:	2671

The wheels took a long time to clean up as there is a mould seam on both sides of each spoke and on the inside of the wheel rim.

Click image for larger version

Name:	Dryfitback.jpg
Views:	3364
Size:	62.1 KB
ID:	2672

I will try and update my vBench at least once a week. Thanks for looking.

Last edited by WillysJeep; 02-22-2010 at 11:24 AM.
Reply With Quote top
 

Bookmarks

Thread Tools Search this Thread
Search this Thread:

Advanced Search
Display Modes

Posting Rules
You may not post new threads
You may not post replies
You may not post attachments
You may not edit your posts

BB code is On
Smilies are On
[IMG] code is On
HTML code is Off


Similar Threads
Thread Thread Starter Forum Replies Last Post
Battle field series (1942, 2, and 1943 blood_or_guts Gamers Corner 5 08-03-2009 05:06 PM
Luftwaffe field division winter uniforms the_dagger Reference 2 12-30-2008 06:14 AM
Another Build Attempt , Tamiya 1/48 Russian GAZ 67B Field Car !!! dukwhunter Photos: In-progress Blogs 5 09-20-2007 08:20 PM
Sd.Kfz. 11 with naval drilling (field modification) Budapest IRon Photos: In-progress Blogs 32 07-30-2007 08:35 AM
Tiran Tanks & Field Modified Tiran APC Early/ Late masss11 Your important news and kit reviews. 0 07-05-2006 04:13 AM


All times are GMT -5. The time now is 03:43 PM.


Powered by vBulletin
Copyright ©2000 - 2020, Jelsoft Enterprises Ltd.
planetArmor