This is my first vBench here on Planet Armor. I have been a member for some time now but never have I posted my work. I hope you guys like what you see.
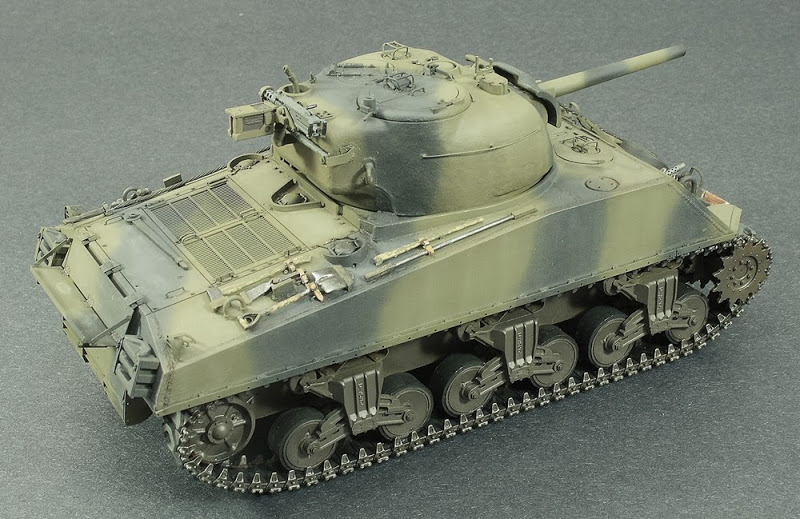
I have been on a bit of Sherman Kick lately, specifically M4A3's. One particular kit I had in my stash was Tamiya's M4A3 Frontline Breakthrough edition kit. It's a an old kit by today's standards with a lot of inaccuracies however with the help of my references I decided to take on the challenge of bringing it up to standard.
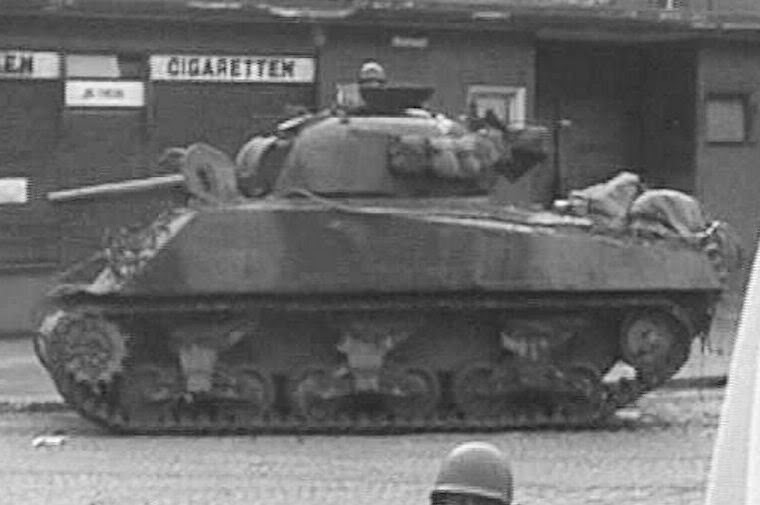
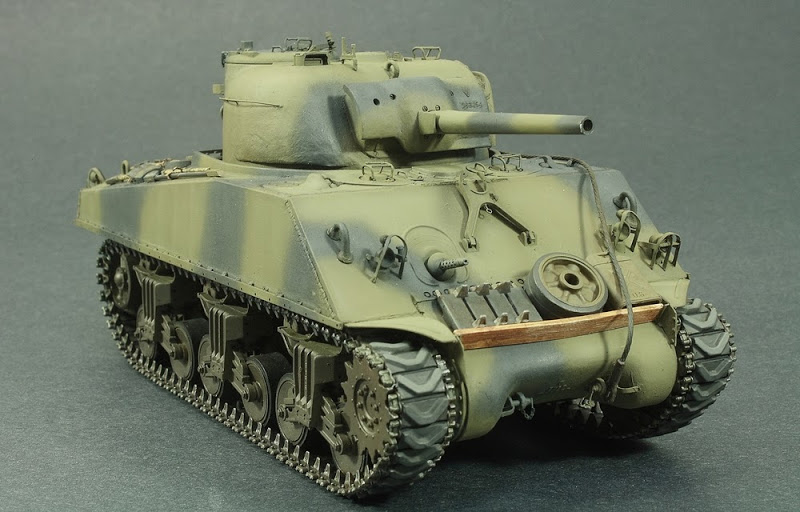
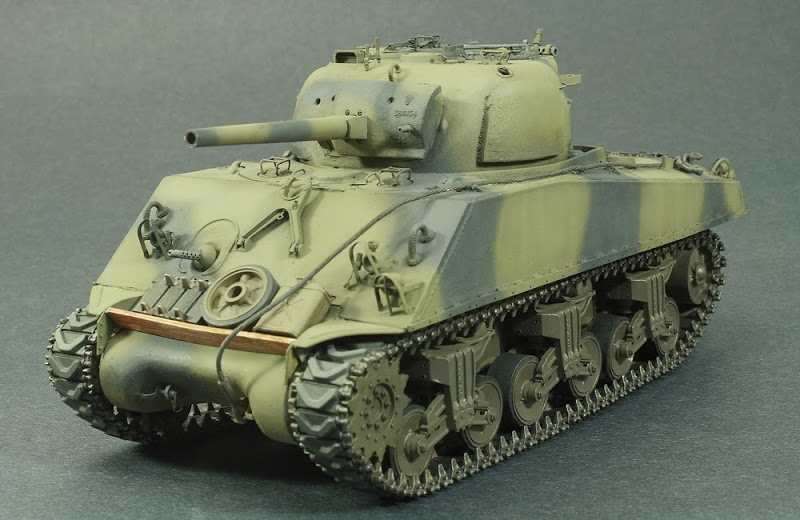
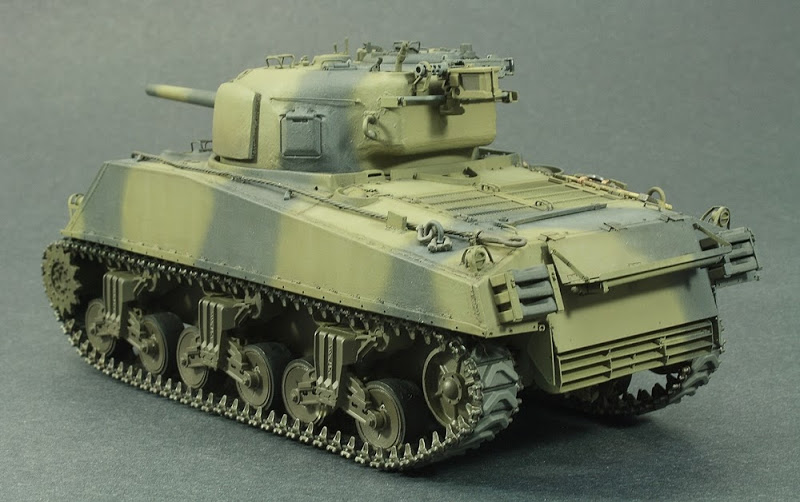
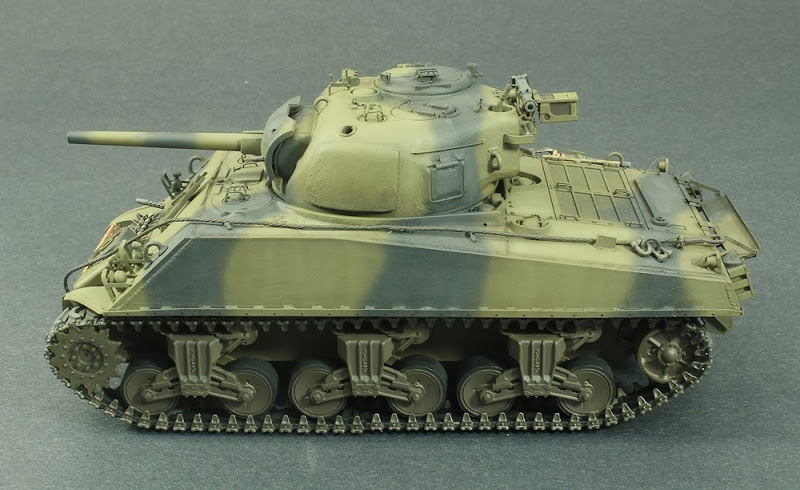
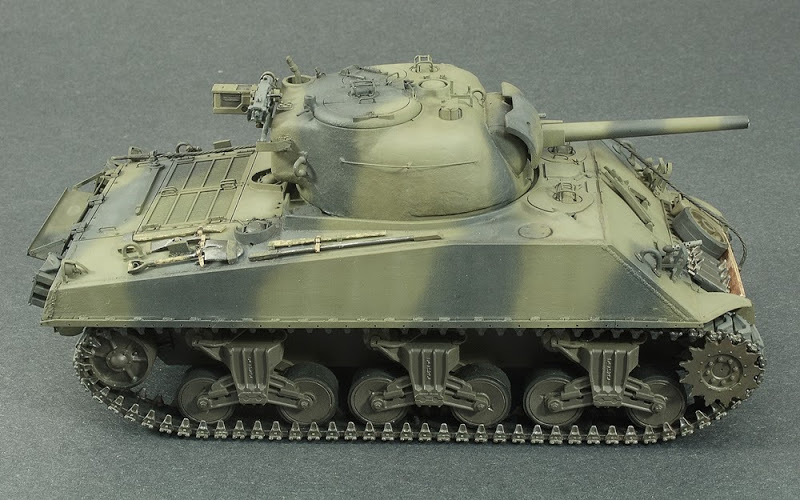
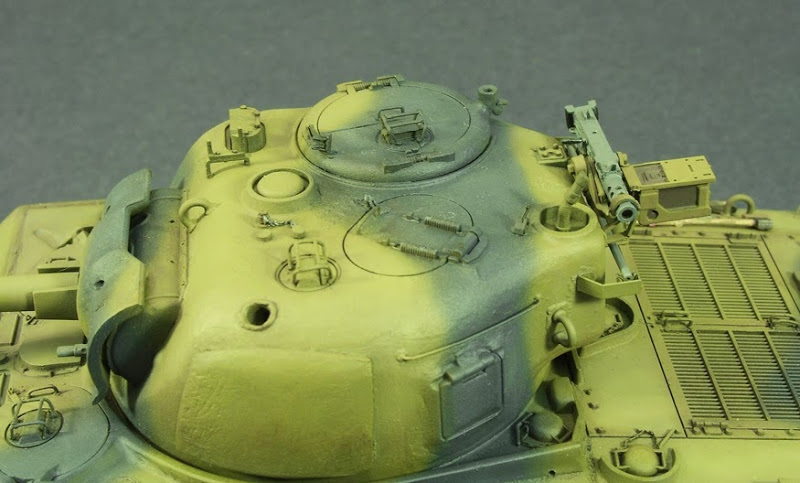
I chose to do a tank from the 3rd Armoured division during the 3rd's Capture of Cologne near the end of the war in Europe. This unit was unique in the sense that they were probably one of the first units to begin welding add-on armour to their tanks instead of exclusively using sandbags or spare track.
The 3rd was also a proponent of camouflage and often painted their tanks in a two colour scheme by spraying bands of black paint over the standard Olive Drab tank colour. This process first began in Normandy in July 1944 during the unit's participation in Operation Cobra.
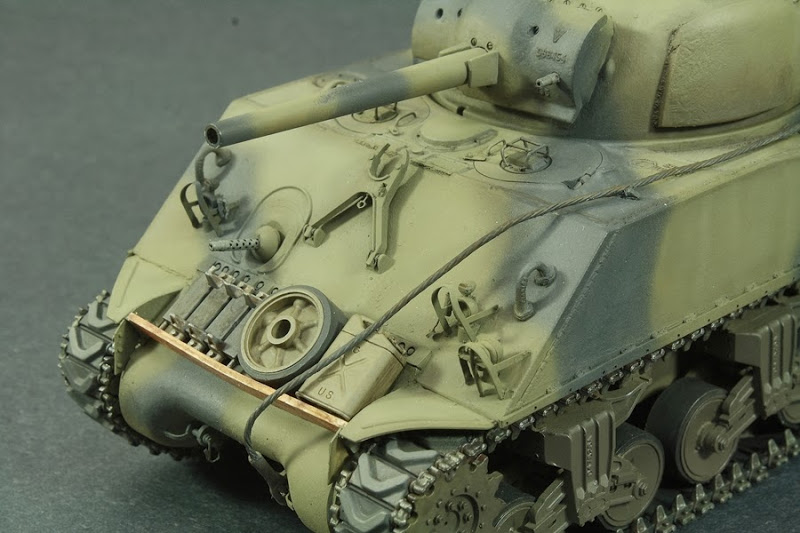
Here's an M4A3(75)W during operations in Cologne. Note the add-on armour on the turret. Also, this particular tank does not have the add-on armour on the glacis which was also seen on a number of 3rd amoured division tanks.
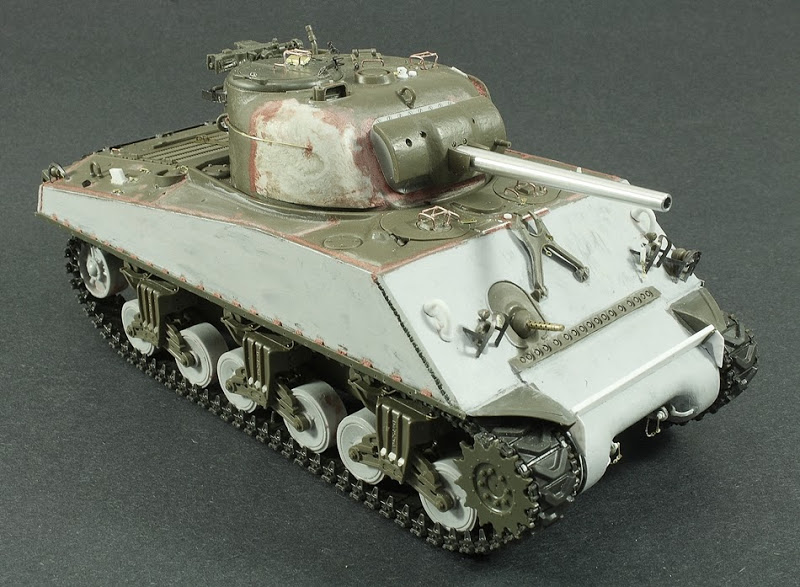
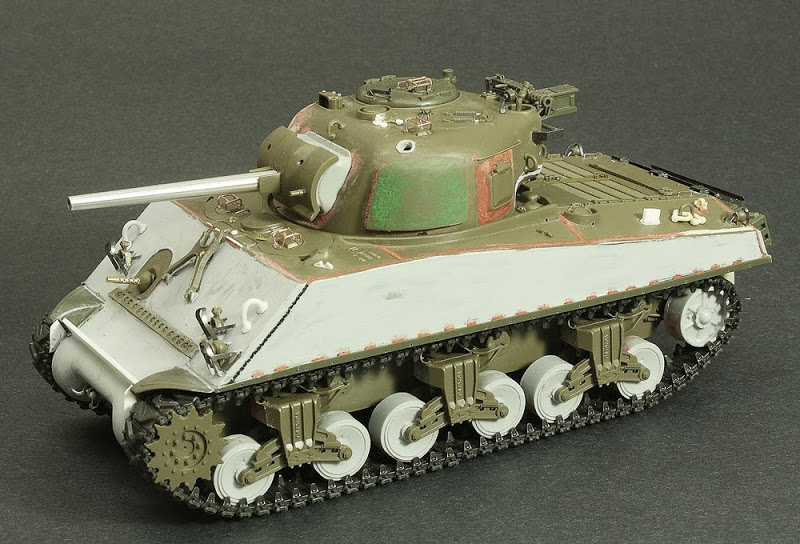
Basecoat on plus some filters and washes. With the exception of some thinned Mr. Surfacer 500 for the very light cast texturing on the turret, glacis, hull side walls and final drive housing, I avoided using any more primer on this tank. Even the metal barrel was sprayed directly with the Tamiya paints I chose. I feel this best results in maintaining the details of the tank itself.
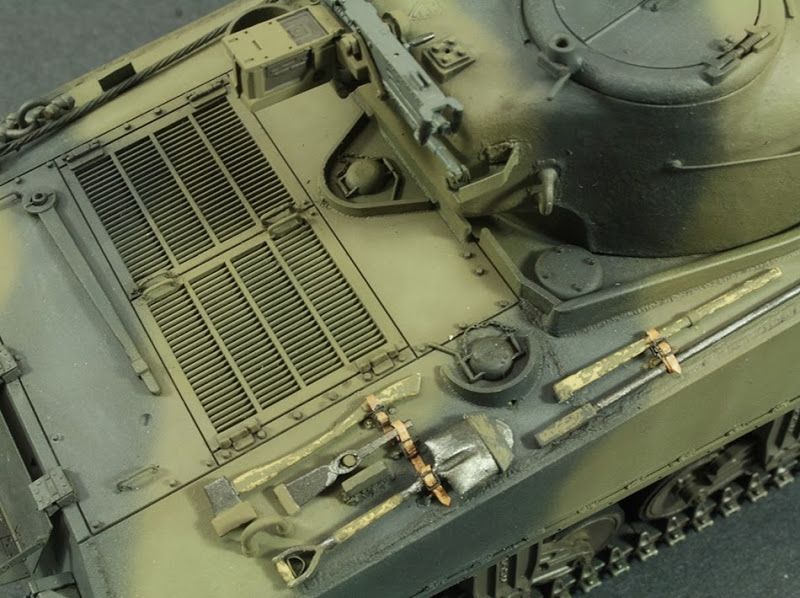
The on board tools of Shermans were often provided by the factories in their natural wood colour, painted in black or Olive Drab.I chose to model the tools painted in Olive drab but with the paint worn away to reveal the natural wood colour of the tools. I used the hairspray method to show this. For the leather straps I used lead foil and buckles from the Aber buckles PE set.
******Next up will be stowage and weathering****
Last edited by Totalize; 11-01-2011 at 08:23 PM.
The Following 3 Users Say Thank You to Totalize For This Useful Post:


 Threaded Mode
